Adding Questions and Messages to Your Interview Content Library
 Updated
by
Amy Thomas
Updated
by
Amy Thomas
View a short walkthrough video below.
Within the Criteria platform, you can add your own custom questions and messages for video interviews to your Interview Content Library.
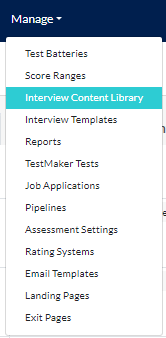
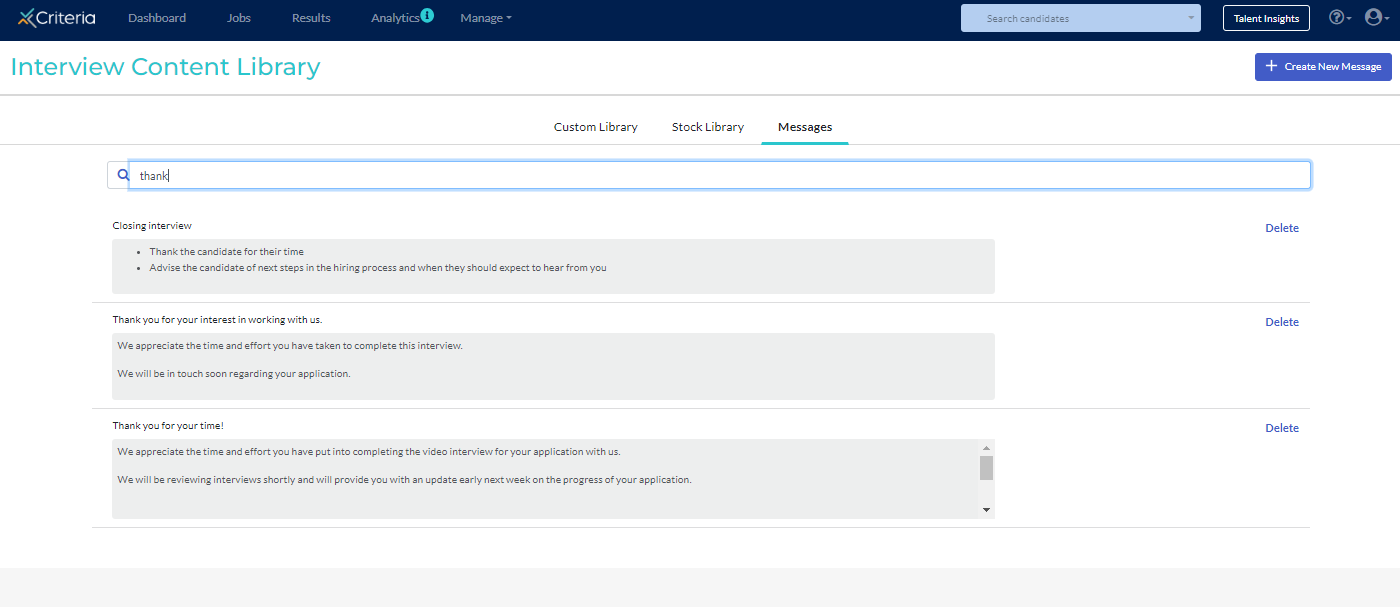
To do this, go to Manage and select Interview Content Library from the dropdown list.
When creating Library content, you can record yourself (or a colleague) asking the question or delivering the message to your candidates. If you would prefer not to do this, questions and messages can be presented in written format. For questions, you can select whether candidates are to respond via video or provide a written response.
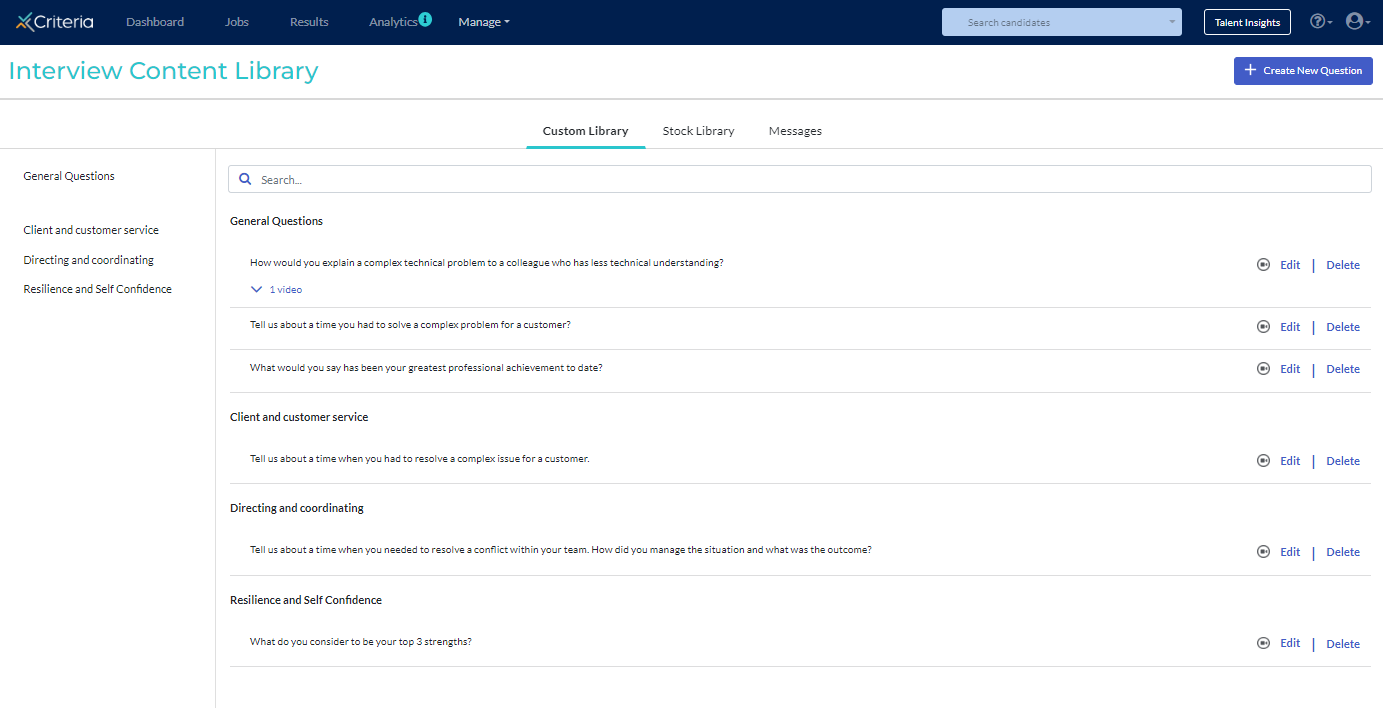
There are three sections in the Library:
- Custom Library is where any questions you have created, or want to create, will be stored. If you have a large number of questions, you can click on a category on the left to go directly to that category.
- Stock Library is a library of 80+ prerecorded video questions that are anchored to specific behavioral competencies such as Teamwork, Problem Solving and Resilience. Each question has been recorded multiple times using different actors of different ages, genders and ethnicity.
- Messages stores any video messages, company intros or signposts to be used as part of the interview structure. A Message is something that does not require a response by the candidate. For example, your CEO might record a message thanking candidates for their interest in working at your organisation or you might want to provide candidates with some information about the next steps in your recruitment process.
Questions
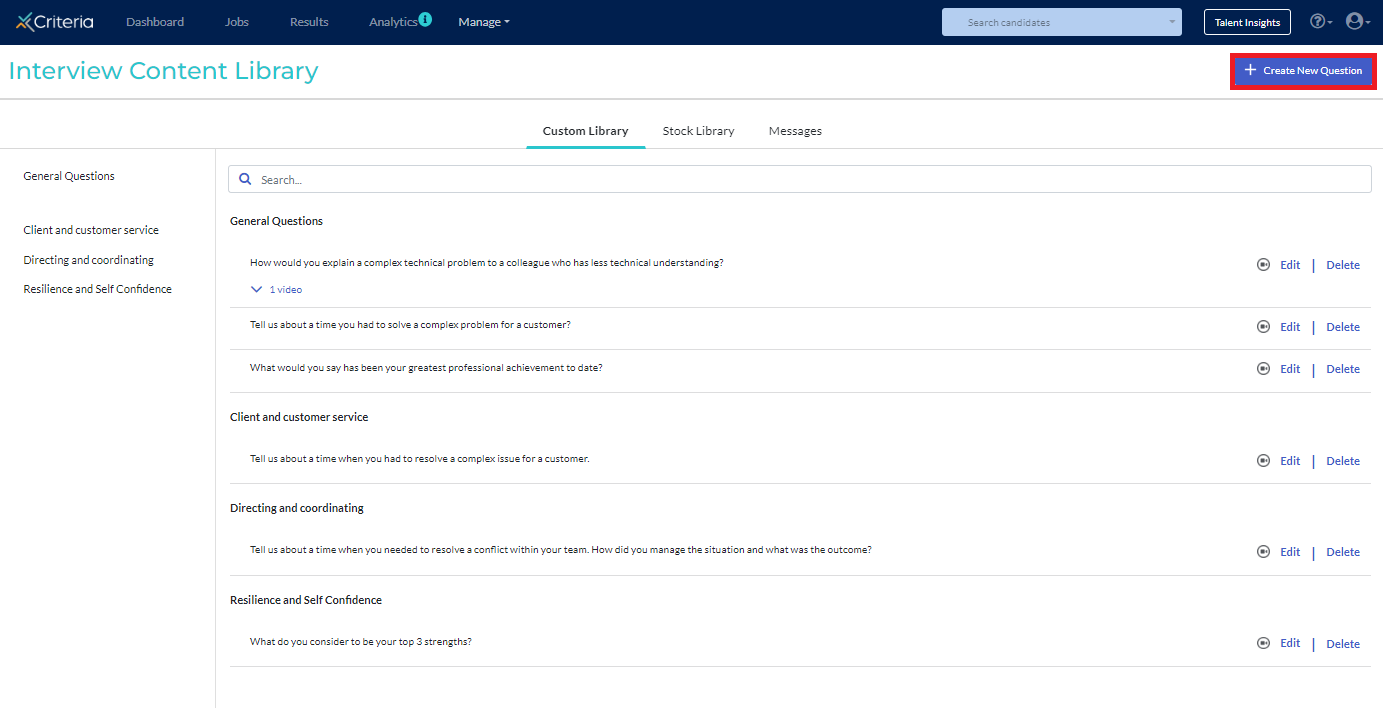
In the Custom Library tab, click Create New Question to add your custom question. You may add questions in video or text format. If you do not want to record yourself asking a question, you can include written questions for your candidates to respond to instead.
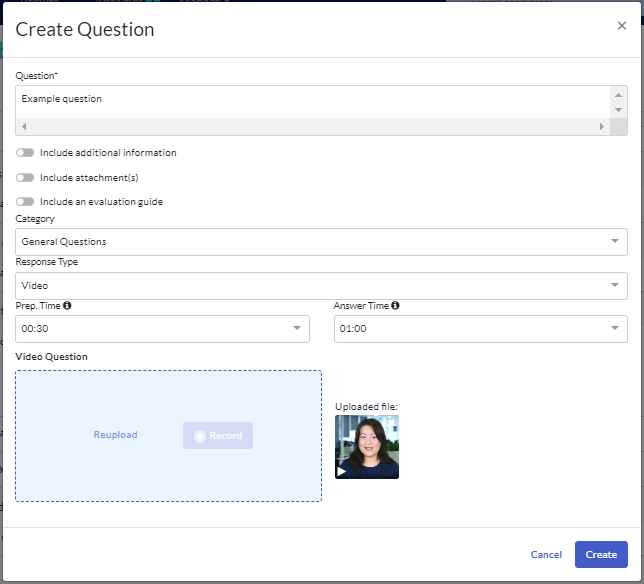
Complete the required information.
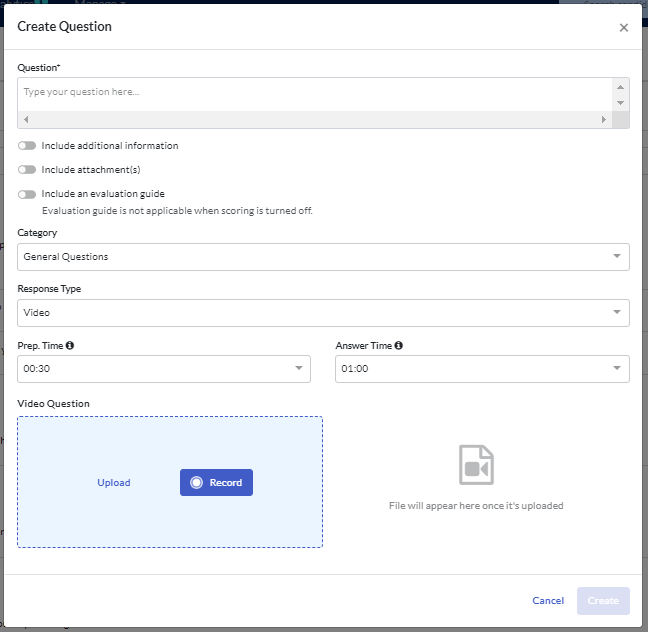
- Question: Enter in the exact text of the question you wish the candidate to see.
- Include additional information: Toggle this on if there is additional information you are providing the candidate. For example, additional instructions about the question.
- Include attachment(s): Toggle this on to include an attachment for the candidate to review. The maximum file size is 20MB.
- Include an evaluation guide: Toggle this on to include a guide for evaluators to assess candidates' responses. This will not be visible to candidates.
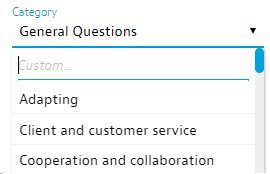
- Category: Select an available category from the dropdown list or create your own, making your content easier to find. To create your own category, click General Questions and start typing in the Custom field. Click Enter to create the new category.
- Response Type: The default ‘Response type’ is ‘Video’, meaning the candidate will be answering the question by recording their answer on camera. The other available options are ‘Written’ which allows you to capture a written response only from the candidate and 'Document', which requires candidates to upload a document in response to the question.
- Prep Time: the amount of time candidates have to consider how to respond to the question before the recording begins.
- Answer Time: the amount of time candidates have to respond to the question. This is the recording that your reviewers will be evaluating your candidates on.
If you are not recording or uploading a video to this question, you can move straight to saving your question.
Record question directly in the platform
View our demonstration video for recording content directly in your Library:
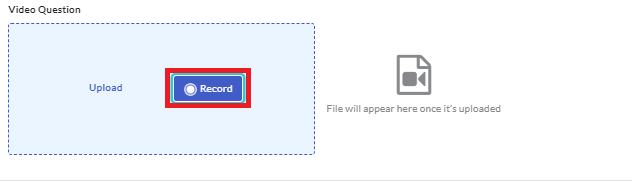
- If you wish to record your question directly in the platform, click Record in Video Question.
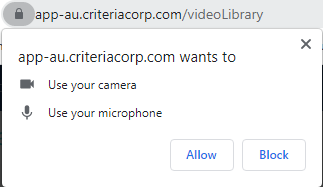
- Click Allow to allow the platform to access your camera and microphone.
- Look directly into the camera and click the red Record button to begin recording your question.
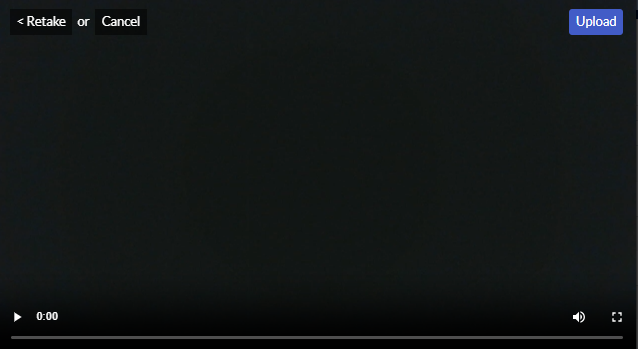
- Click the red Stop button to end the recording.
- Review the recording.
- If you are happy with the recording, click Upload.
- If you want to record the question again, click Retake and complete steps 3 to 5 again.
You are now ready to save your question.
Upload a pre-recorded video
We have included some tips on creating pre-recorded videos below.
To upload a recording to the platform, you can either search for the file on your device or drag and drop the file.
- Click Upload in Video Question. A search box will appear, which will allow you to locate and upload your previously pre-recorded question.

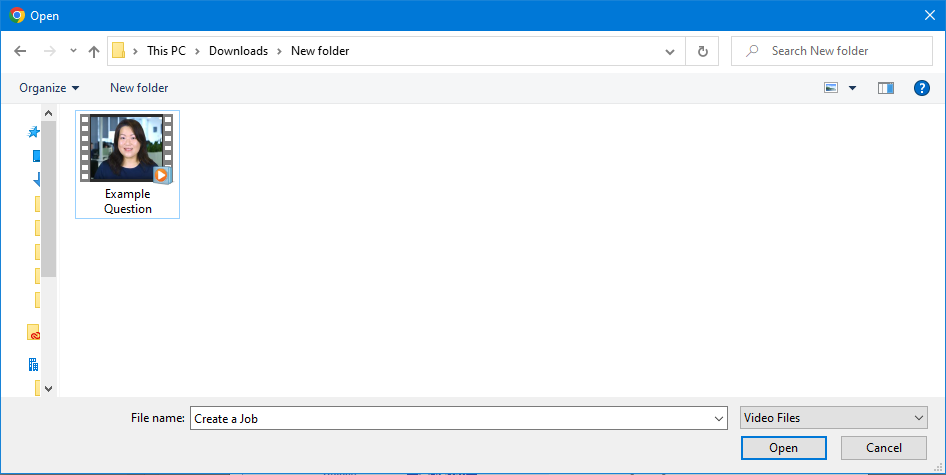
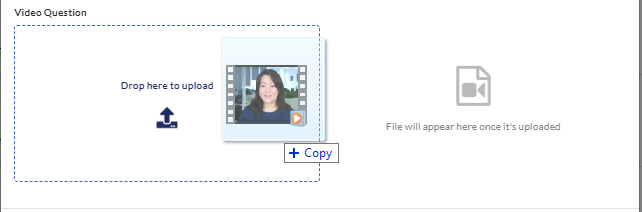
- Locate the file on your device. Drag and drop it into the Video Question box.
Click on the video file to view a preview.
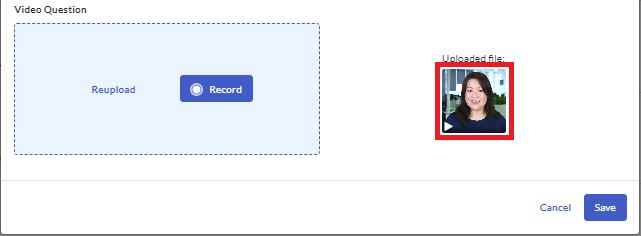
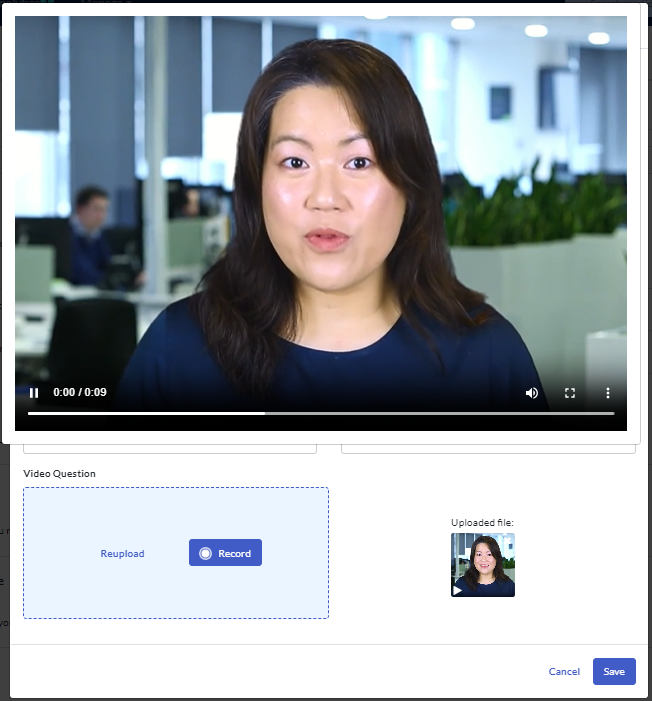
Click anywhere outside the preview modal to close the preview.
You are now ready to save your question.
Save your question
Once you are happy the content and options you’ve selected, click Create and your question will be added to your Library.
Messages
Creating a message is similar to creating a question. Messages may be in either video or text format.
- In the Messages tab, click Create New Message.

- Complete the required information.
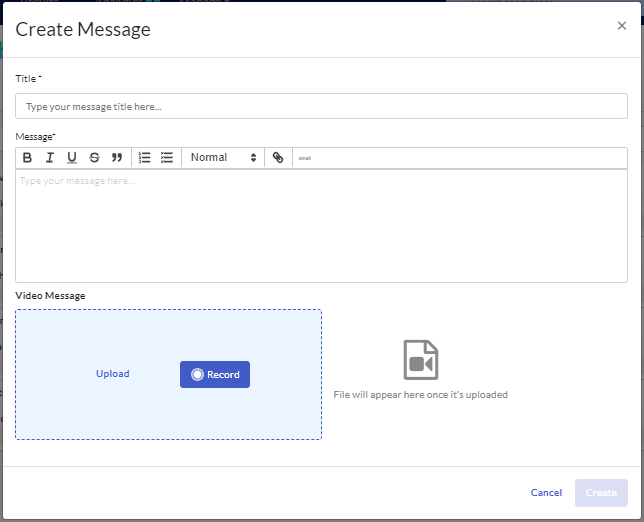
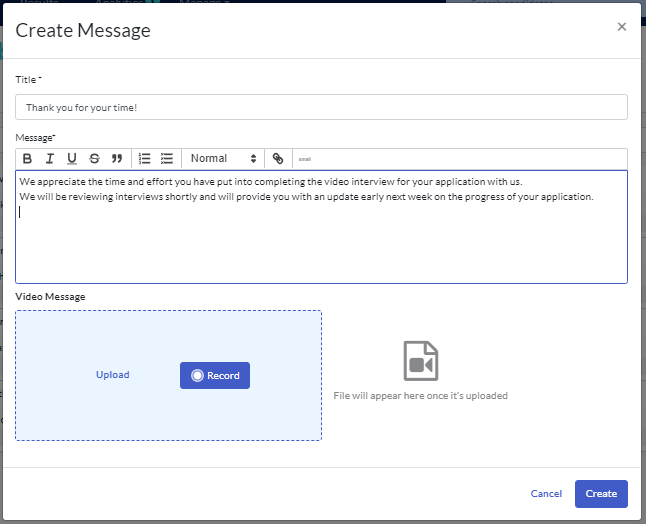
- Title: This will be the title of your message, for example "Welcome to your Video Interview".
- Message: Here you can add additional information, such as instructions or an overview of what candidates will be asked to complete. The Message section is HTML enabled.
- Video Message: Here you can record a message directly in the platform or upload a message recorded elsewhere. Follow the instructions above to add a video to your message.
- Once you are happy the content, click Create and your message will be added to the Messages Library.
Creating your own pre-recorded content
For both questions and messages, you can add a recording.
The media files need to be in mp4 format. Questions and messages can be recorded using your laptop, desktop with a webcam, or mobile device; they can be recorded via Zoom, Teams or by following the instructions below.
Windows based laptop or desktop with webcam
- Open the camera app. Click here to view a Microsoft Help article regarding this step.
- When you are ready to ask the question or record your message, look directly at the camera and click Video.
- Ask your question or present your message, then click Video again to finish recording. Ensure you repeat this process for each individual question, that is one question or message per file.
- To see your video, or ones you've taken before, select Start > Photos .
- Save files to your desktop.
Mobile device (iPhone, Android device)
- Prop up device to ensure the camera angle is suitable. Please do not hold the device as it will be extremely distracting for the candidate watching.
- When you are ready to ask the question or record your message, looking directly at the camera click Record.
- Ask your question or present your message, then click Record again to finish recording. Ensure you repeat this process for each individual question, that is one question or message per file.
- You may need to edit the beginning and end of the recording to remove the hand coming into shot to press record. This feature is available in Apple and Android devices. Please click on the link below for instructions for each type of device.
How to edit videos on your iPhone, iPad
- Once you have recorded your question, email the file to yourself so that you can save to your desktop.
Next Steps
Select questions in your Video Interview Library to build a video interview template and create a custom email template to invite your candidates to complete a video interview.
Click here to view more information about using video interviews.