Okta SSO Setup
 Updated
by
Amy Thomas
Updated
by
Amy Thomas
If you use Okta as your Single Sign-On provider, here are the steps you or your IdP admin need to complete in order to create an integration between your Okta and Criteria accounts.
Create a SAML app in Okta
- Open the Admin Dashboard:
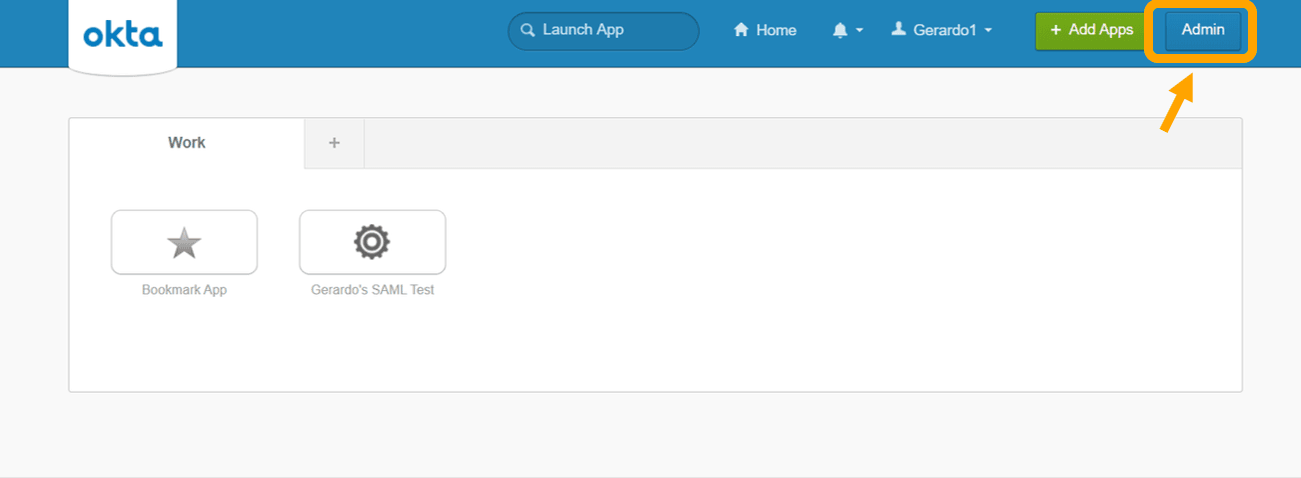
Important: You must be in the Admin Console (Classic UI) to create a SAML app.
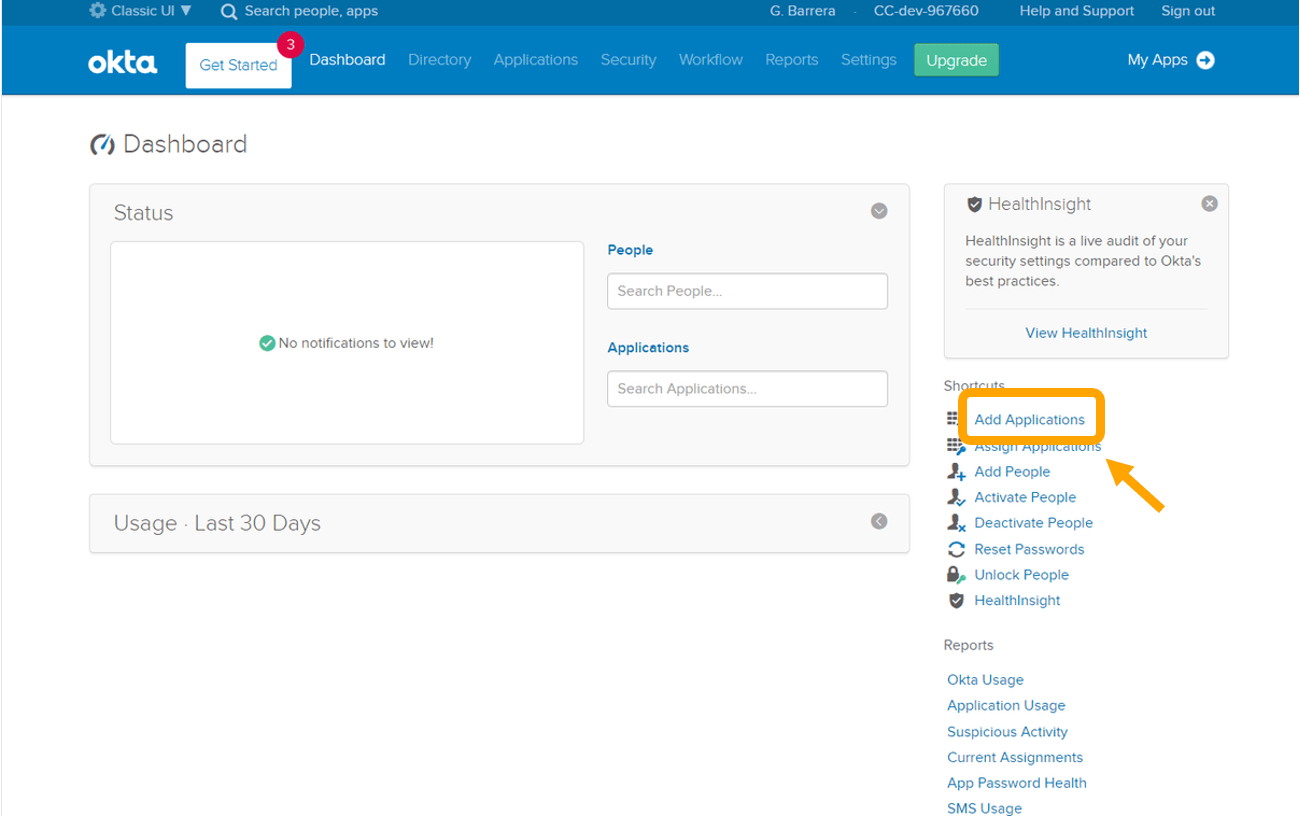
- Under Shortcuts choose Add Applications. Or, choose Applications, and then choose Add Application.
- On the Add Application page, choose Create New App.
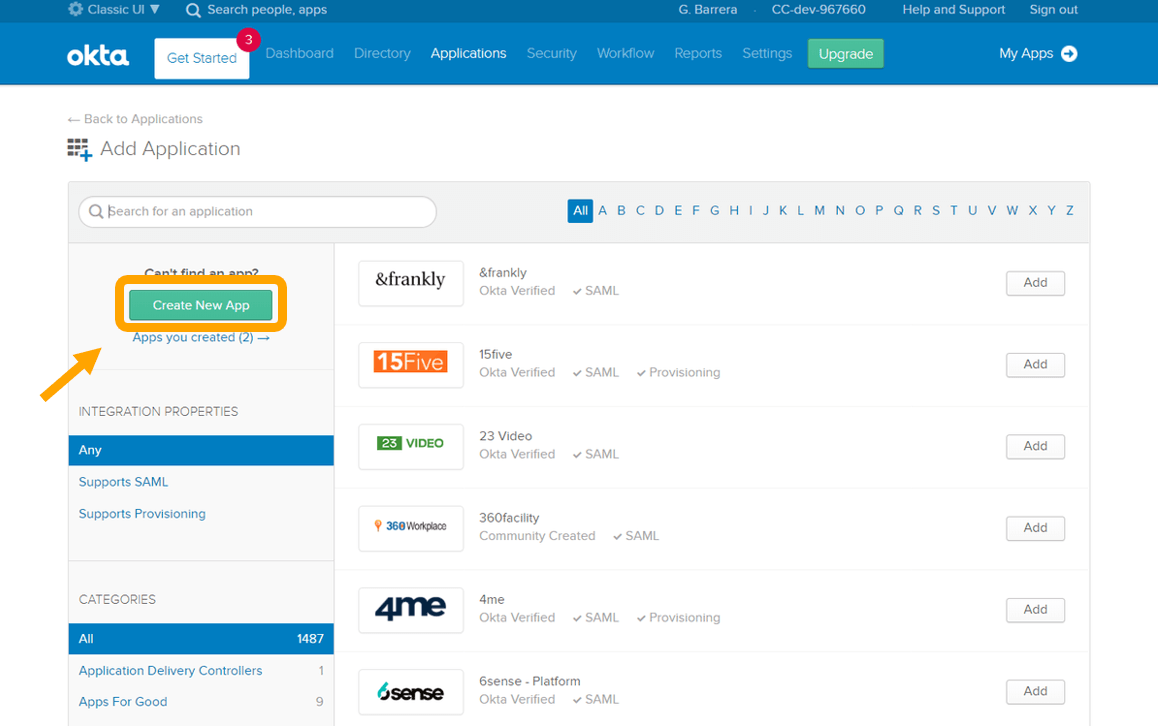
- In the Create a New Application Integration dialog, confirm that Platform is set to Web.
- For Sign on method, choose SAML 2.0.
- Choose Create.

Configure SAML integration for your Okta app
- On the Create SAML Integration page, under General Settings, enter HireSelect_SSO as the app name.
- (Optional) Upload a logo and choose the visibility settings for your app.
- Choose Next.

- Under GENERAL, for Single sign on URL, enter https://hireselect.auth.us-east-1.amazoncognito.com/saml2/idpresponse.
- For Audience URI (SP Entity ID, enter urn:amazon:cognito:sp:us-east-1_tkdHRnjPD.
- Under ATTRIBUTE STATEMENTS, add a statement with the following information:
- For Name, enter the SAML attribute http://schemas.xmlsoap.org/ws/2005/05/identity/claims/emailaddress. For Value, enter user.email
- For Name, enter: http://schemas.xmlsoap.org/ws/2005/05/identity/claims/firstname. For Value, enter user.firstName
- For Name, enter: http://schemas.xmlsoap.org/ws/2005/05/identity/claims/lastname For Value, enter user.lastName
For all other settings on the page, leave them as their default values or set them according to your preferences.
- Choose Next.

- Choose a feedback response for Okta Support.
- Choose Finish.
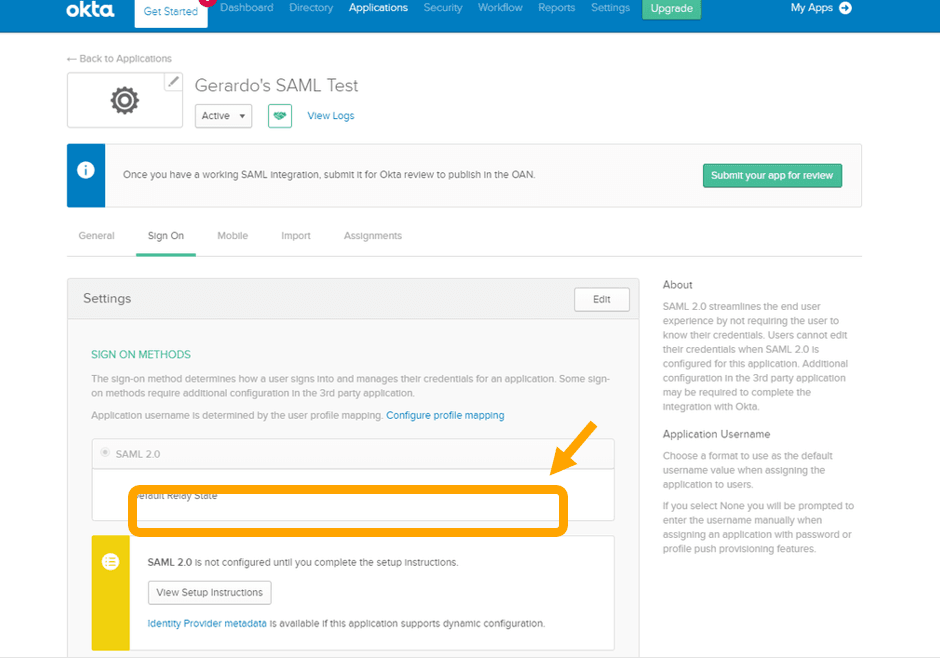
Get the IdP metadata for your Okta application
- On the Sign On tab for your Okta app, find the Identity Provider metadata hyperlink. Right-click the hyperlink, and then copy the URL.
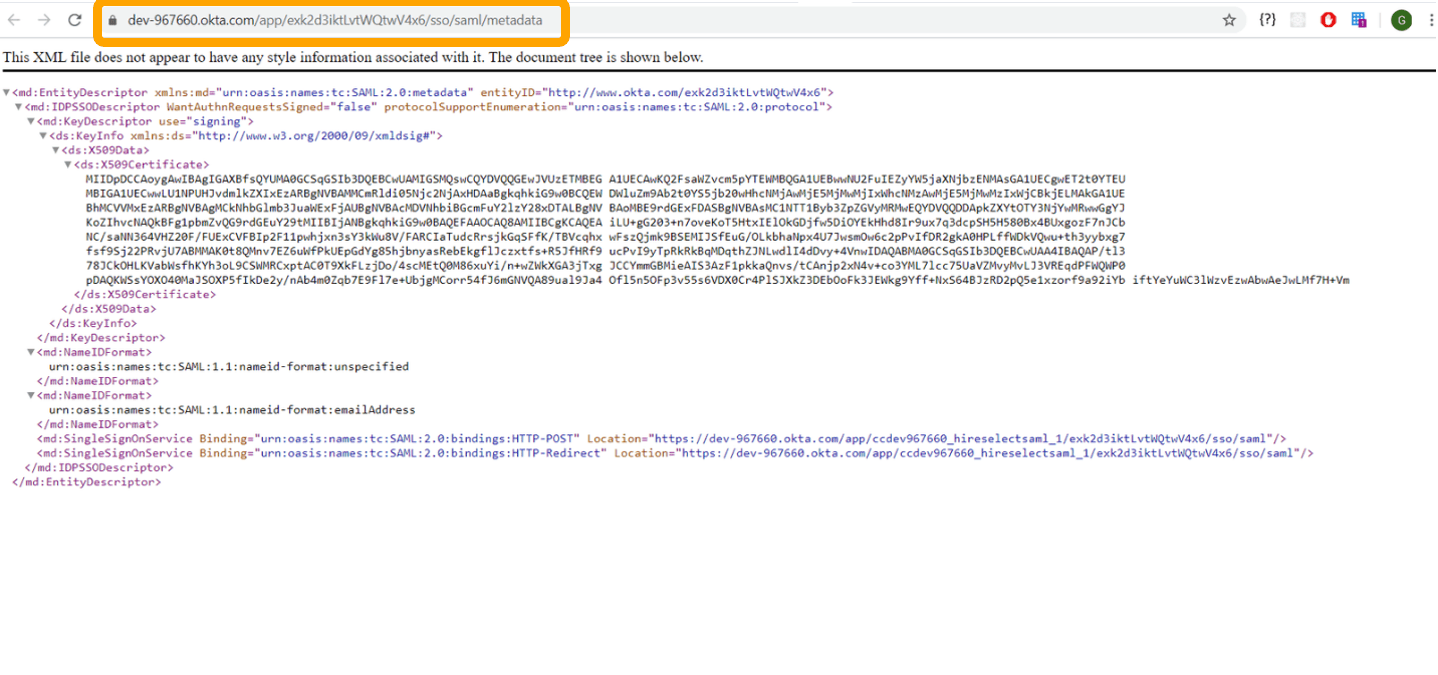
- Send the IdP Metadata URL or xml file to our Support Team (Idp Metadata URL is preferred so xml files will auto-update).
Click here for the next steps in the SSO integration setup process.
Parameters Needed
Here is a recap of the parameters required to set up an integration between Okta and Criteria.
Criteria Provided Parameters:
- Entity ID (Audience URI): urn:amazon:cognito:sp:us-east-1_tkdHRnjPD
- Assertion Consumer Service URL: https://hireselect.auth.us-east-1.amazoncognito.com/saml2/idpresponse
- First-Time Sign-On URL/BookMark: https://hireselect.criteriacorp.com/?companyAccountId=<companyAccountId>
- To be provided
- Our Required SAML Attributes
- First Name
- Last Name
- Email Address
- Optional SAML Attributes
- Job Title
- Idp Immutable Global Unique Identifier (Varies by Idp)
- http://schemas.xmlsoap.org/ws/2005/05/identity/claims/isDevelopOnly
- This will dictate whether the user only has access to your Develop account when they sign in for the first time via SSO, provided they don't already have access to your Criteria recruitment account.
- The values for this attribute are either 0 or 1. If the user will only have access to your Develop account and not your Criteria recruitment platform account, select 1. If the user is to have access to both your Develop account and your Criteria recruitment account, select 0.
Customer Provided Parameters:
- Federation Metadata Document endpoint URL (Can also be an XML Document but URL preferred)