Using the Workplace Alignment Assessment
 Updated
by
Cody Cooley
Updated
by
Cody Cooley
The ideal candidate isn't just someone who will excel in their job; you need someone who will stick with your organization for the long run as a committed and engaged employee.
The Workplace Alignment Assessment asks candidates to describe their ideal workplace using a standardized set of 20 work factors. For example, do they value job security over advancement? Or recognition over compensation? The assessment compares these preferences to an organizational profile that describes what the organization offers employees. By selecting candidates whose work preferences are aligned with what the organization provides, you’ll build a more engaged, satisfied, and committed workforce.
Click here to learn more about the WAA.
Create Work Factors Profile
The Workplace Alignment Assessment is a two-sided assessment so in addition to the candidate completing the test, we need an organizational profile to compare it against. This is called the Work Factors Profile.
There are two options for creating a Work Factors Profile:
- As a Criteria user, if you are familiar with the role and your organization, you can create the Profile directly in your Criteria account.
- Alternatively, you can send an email to another user, who can complete the Profile. This is typically the supervisor of the role that is being recruited for. If the supervisor is not a current user, no problem. The system will automatically create them as a collaborator type user when they begin creating the Profile.
Users with manager, admin and some custom access roles are able to set up Work Factors Profiles. There are two options for creating a Work Factors Profile: prior to setting up the job and on-the-fly during the job creation process.
Prior to Job Setup
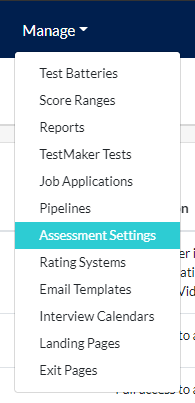
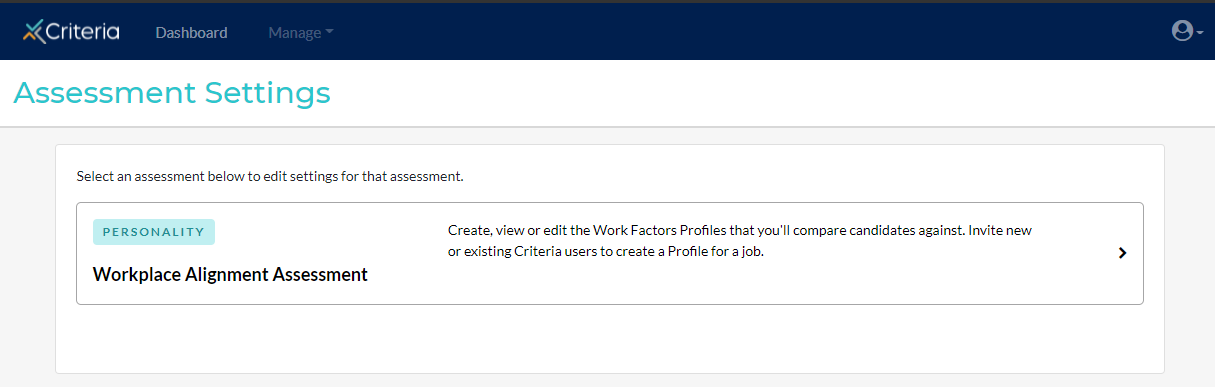
To do this, in your Criteria account, click Assessment Settings under Manage.
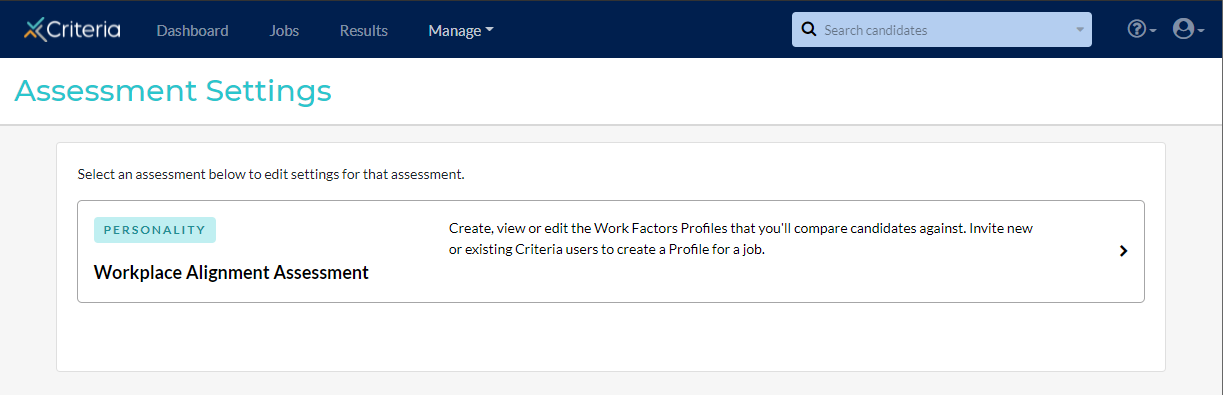
Click Workplace Alignment Assessment.
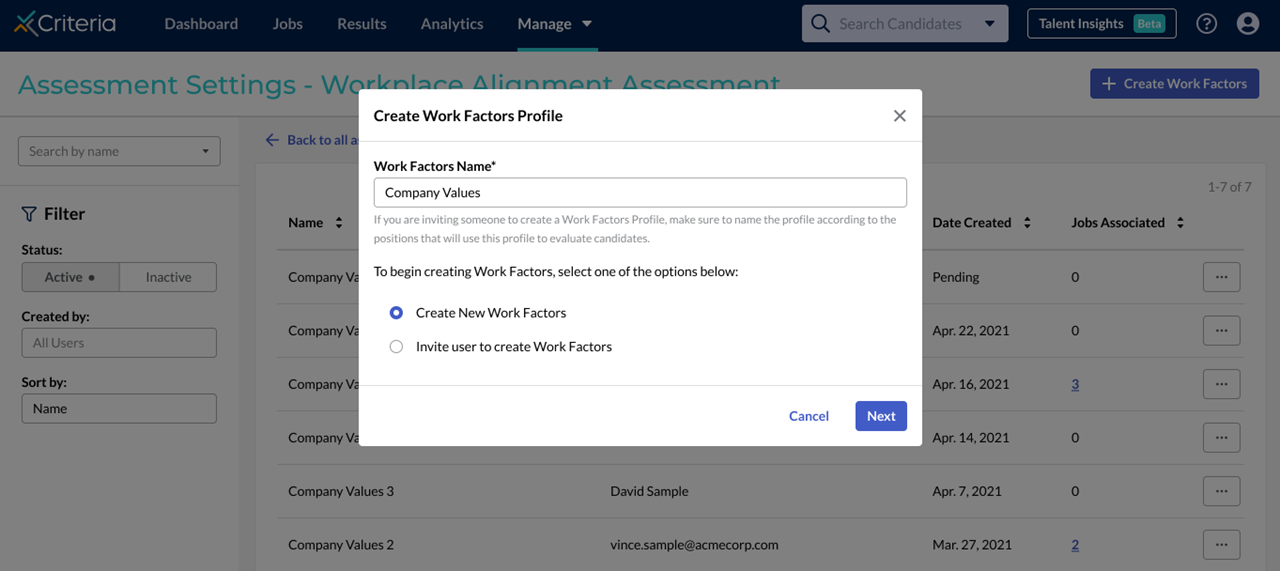
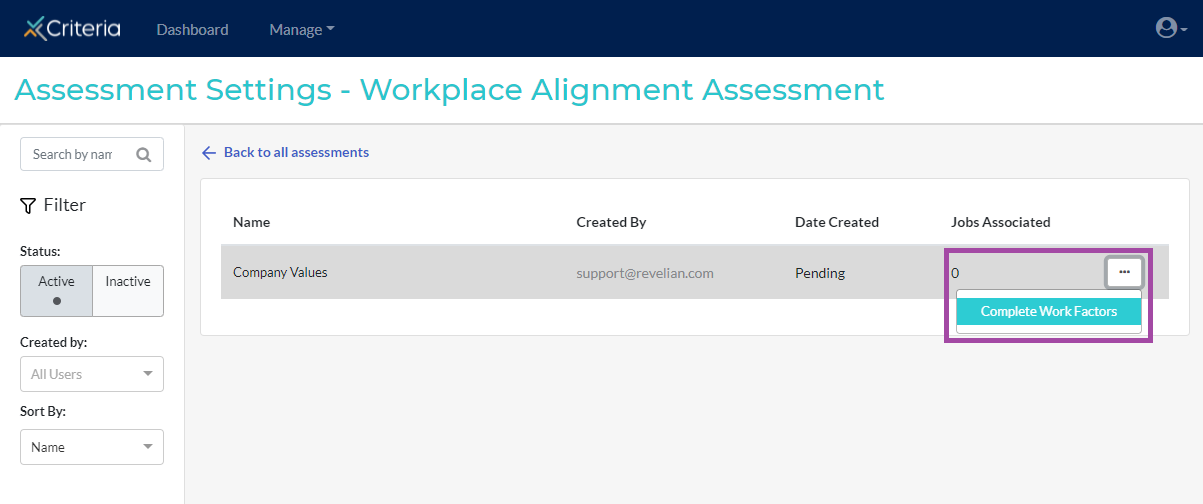
Click Create Work Factors in the top right corner.
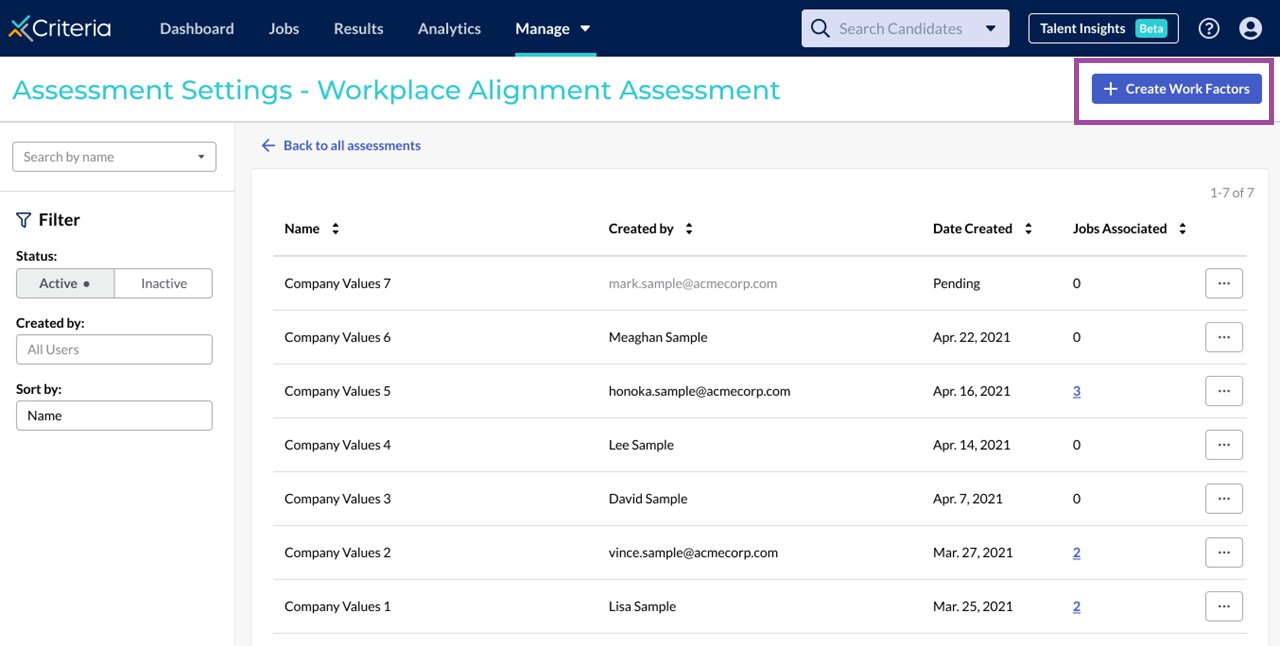
Give the Work Factors Profile a title and select whether you will be setting up the Profile or sending a request to another user to set this up. Click Next.
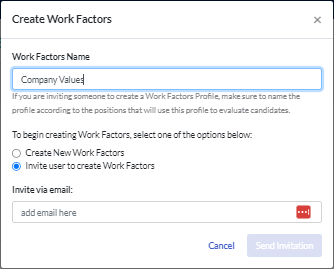
Invite user to create Work Factors
If you selected to send the request to someone else, you will be prompted to enter their email address in.
A message will appear to confirm the email was sent.
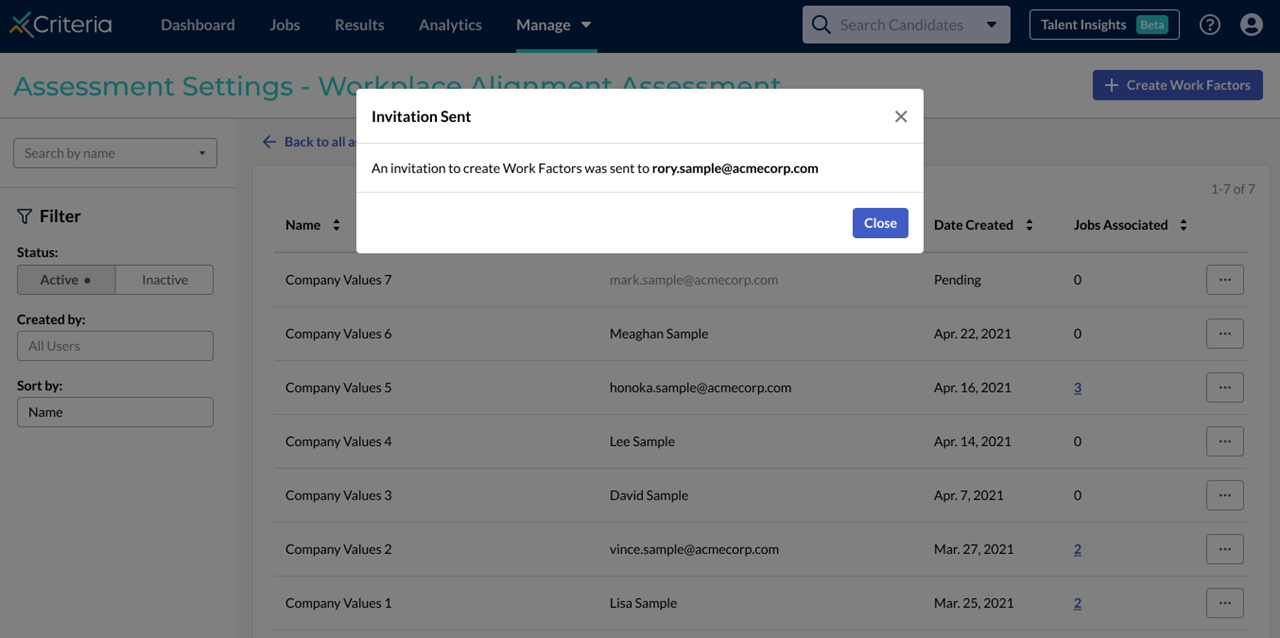
Note that the Work Factors Profile needs to be completed using a desktop computer.
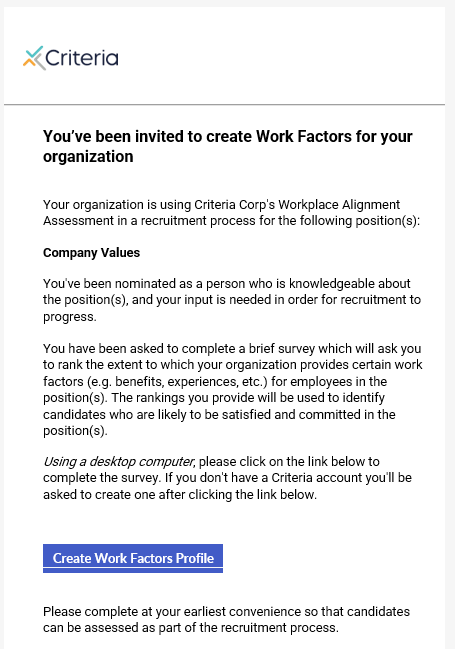
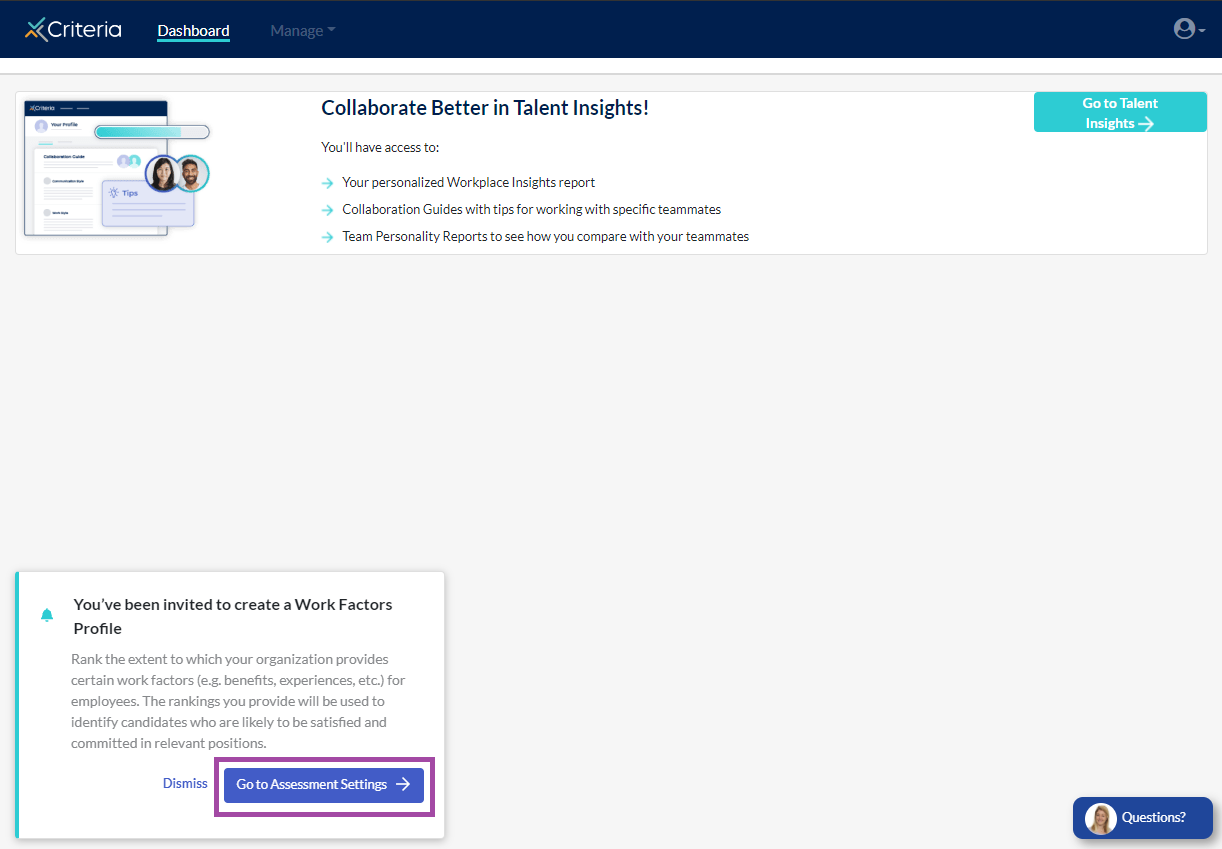
The invitee clicks on Create Work Factors Profile in their invitation email and is asked to set up a user profile if they are not already a user. Once logged in, click Go to Assessment Settings in the bottom left corner.
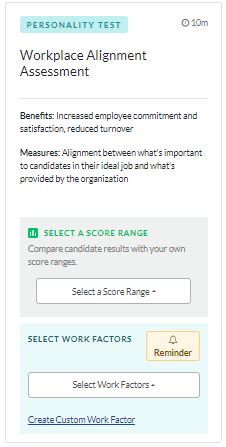
Click Workplace Alignment Assessment.
Click ... More Actions and select Complete Work Factors.
Creating the Work Factors Profile
From here, the process is the same as when you choose to complete the Work Factors Profile yourself. Simply drag each statement from the list on the left side into the Importance categories on the right side.
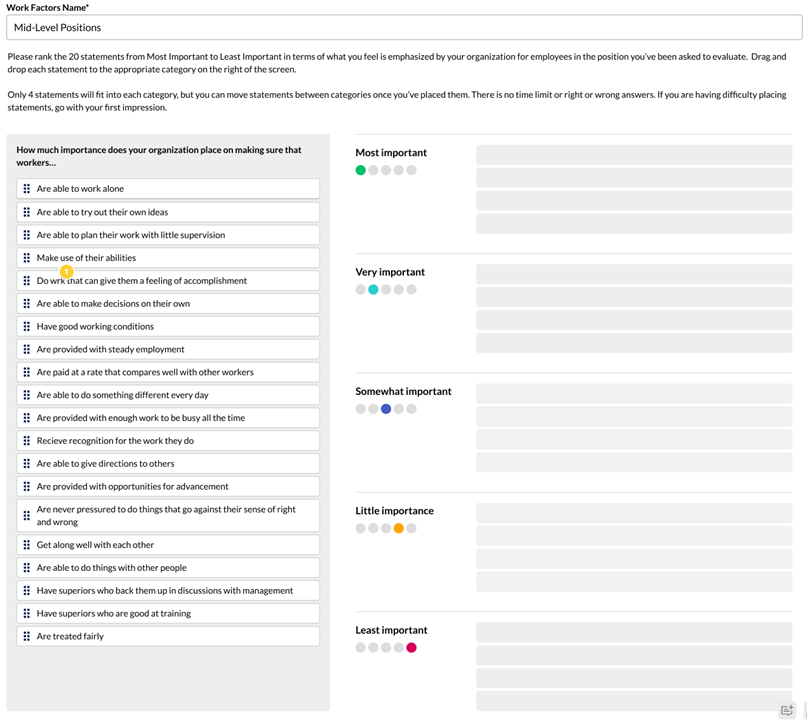
Only 4 statements can be added to each category. Note that this does not mean that candidates do not value the items in the lower importance categories, nor that your organization does not provide them. The categories indicate the level of importance each item has for the candidate and the relative extent to which your organization provides each item.
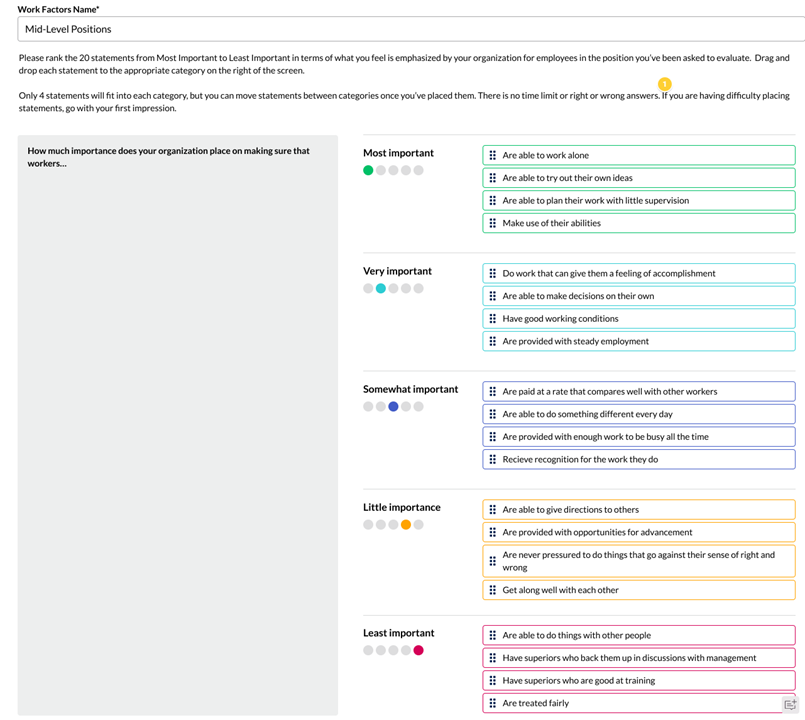
Once all statements have been allocated to a category, click Save Work Factors near the top of the screen.
During Job Setup
You can also create a Work Factors Profile during the job creation process, if none of the Profiles in your account match the job being recruited for.
Create the job as per usual. Click here for instructions.
The Work Alignment Assessment is not included in our Recommended Test Batteries suite at this time so you will need to add it to a custom test battery. Click here to learn more about creating test batteries.
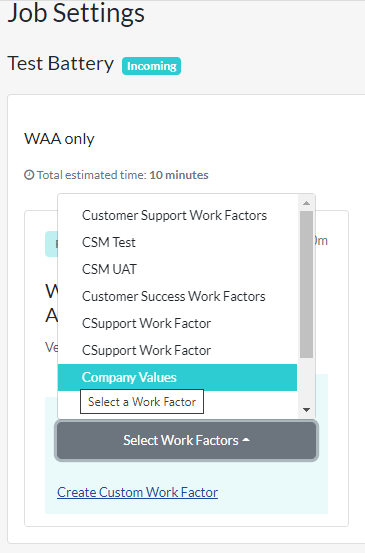
If you are using a Profile you created previously, click the name of the Profile from the dropdown list under Select Work Factors.
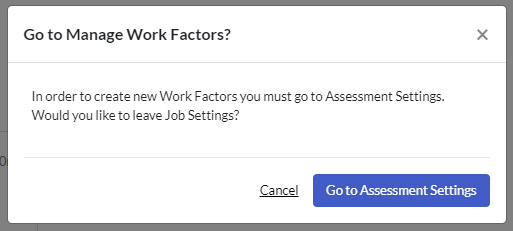
If you need to create a Work Factors Profile on-the-fly, click Create Custom Work Factor. Click Go to Assessment Settings in the popup message.
From here, follow the same process outlined above to create your Work Factors Profile.
As the job creation process was interrupted, the job details were not saved. You will need to return to the Jobs screen to start the process of creating the job again.
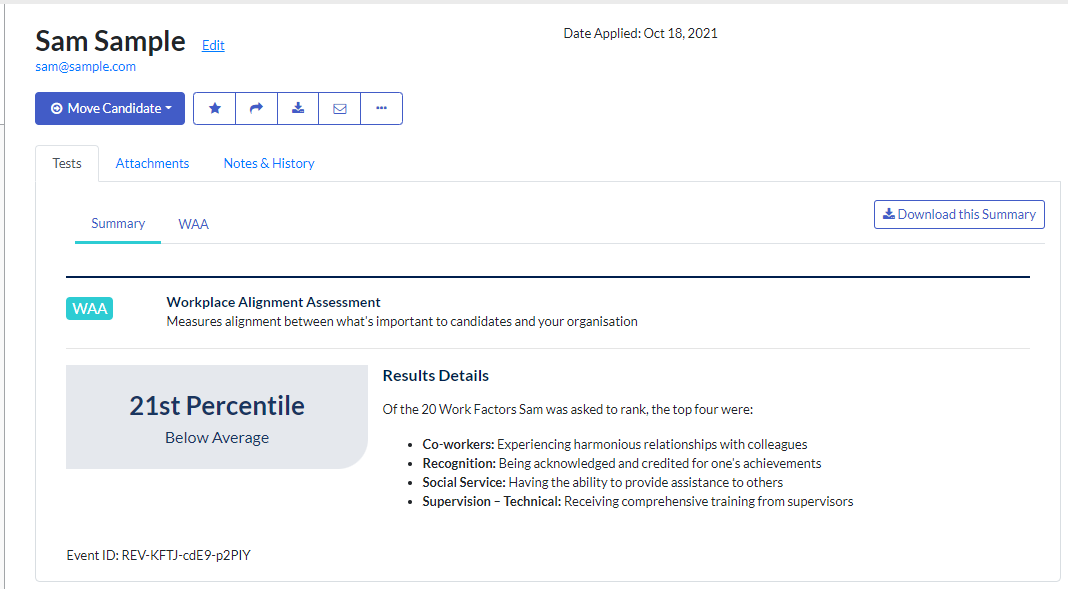
Viewing Candidate Results
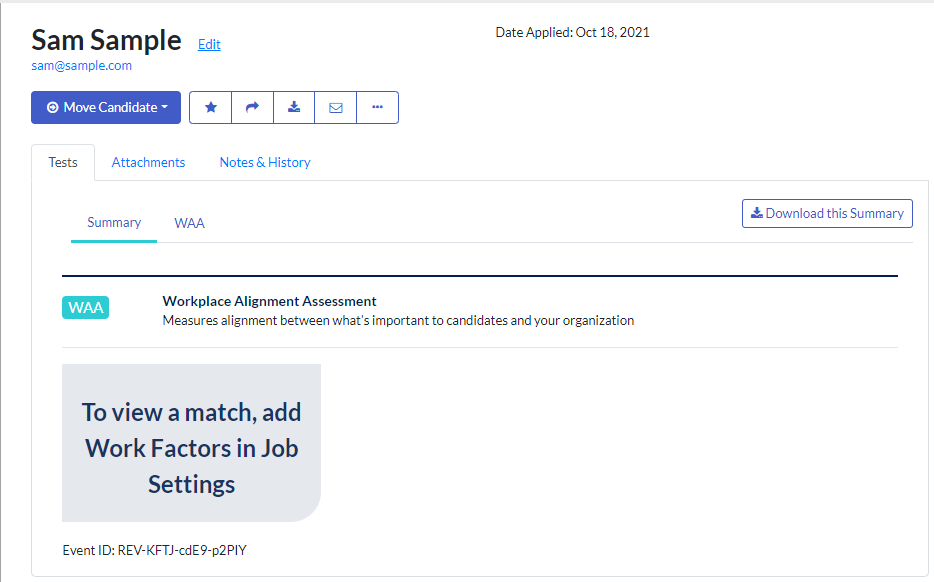
A Work Factors Profile must be selected in order to view candidates' results for this assessment. However, candidates can complete the assessment without a Profile being assigned to the job. So if you are waiting on another user to complete the Profile, you can go ahead and invite your candidates to complete the test in the meantime.
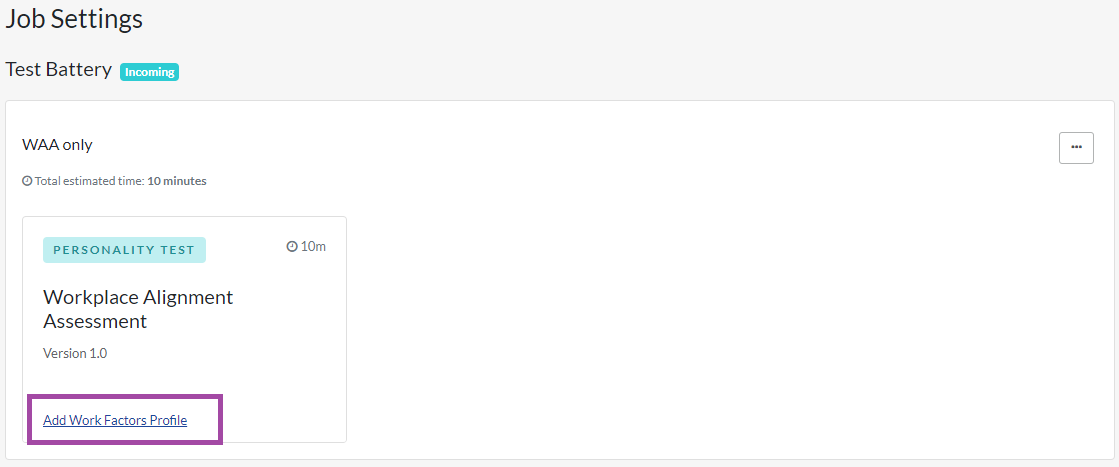
You can add a Work Factors Profile (or change it to a different Profile) at any time in the Job Settings area. Click the Settings wheel in the top right corner.
If no Work Factors Profile has been selected, click Add Work Factors Profile to add one to the job.
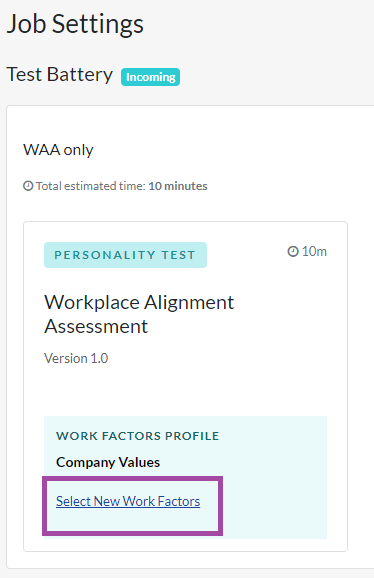
To change the Work Factors Profile, click Select New Work Factors.
You can now view your candidates' results for this assessment.