Create a Custom Landing Page
 Updated
by
Amy Thomas
Updated
by
Amy Thomas
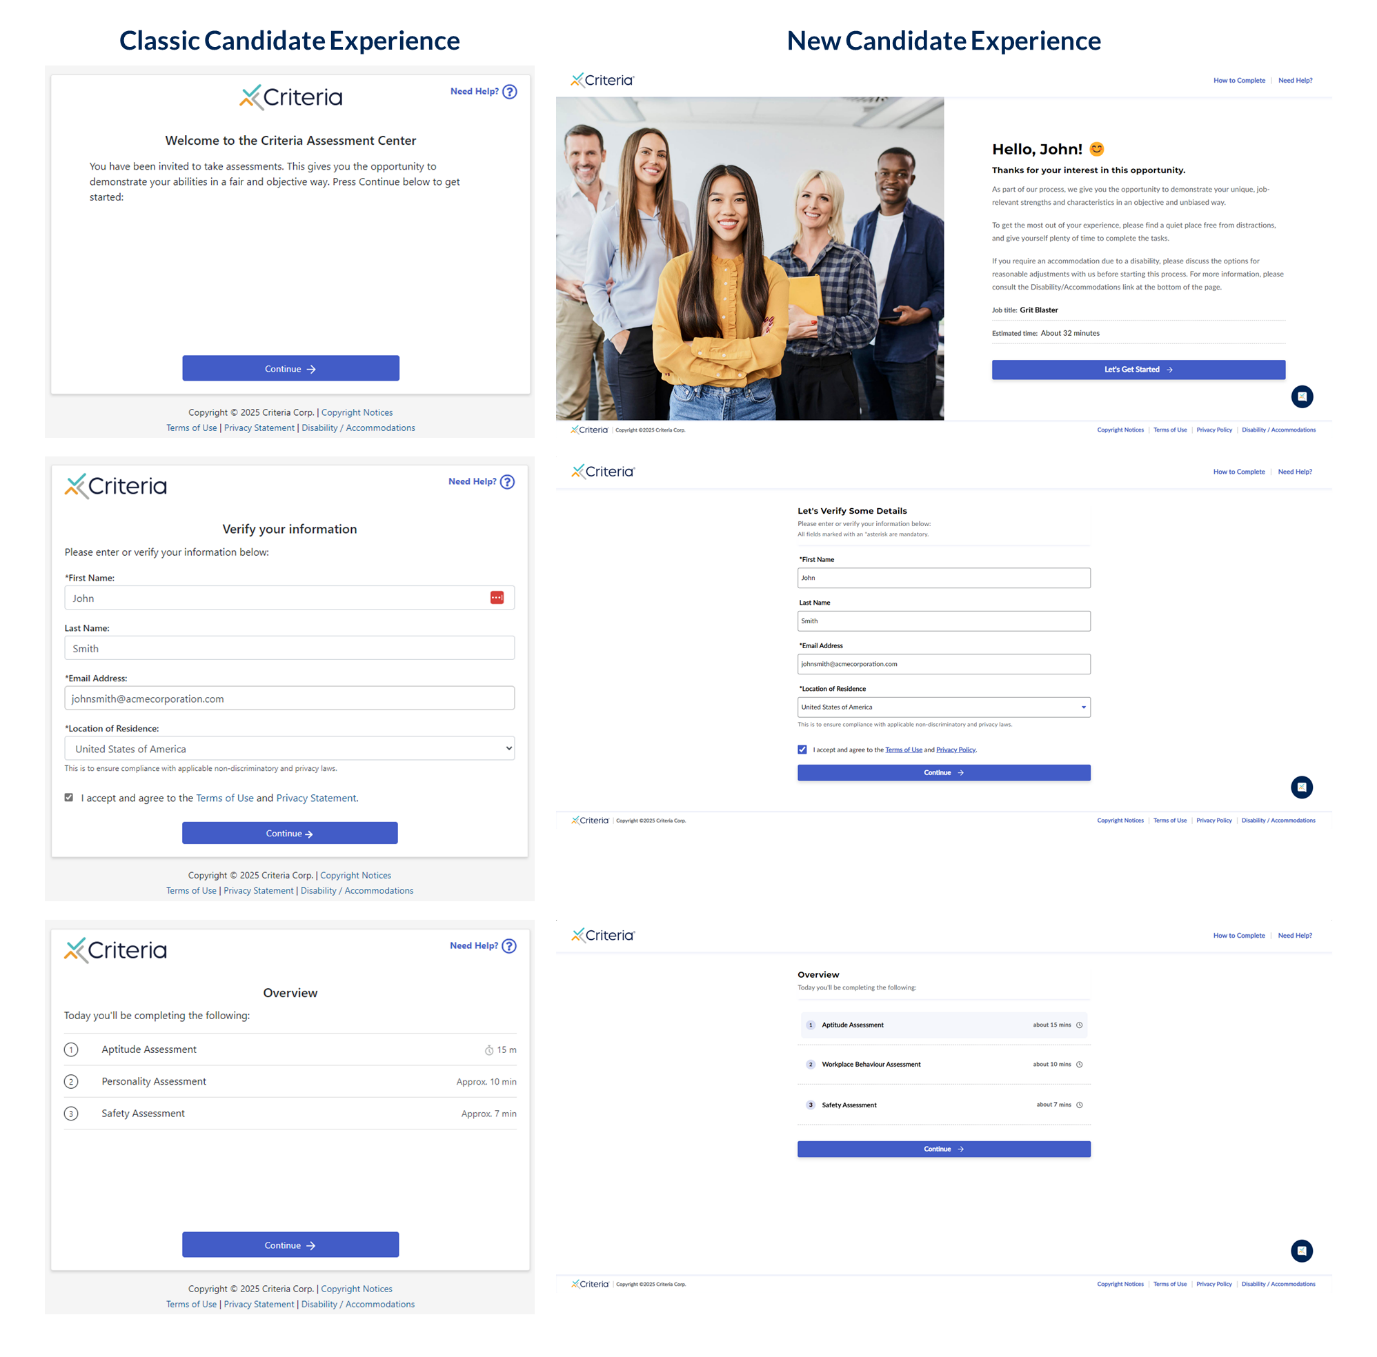
You can customize your candidates’ testing experience by creating a branded landing page that appears when they open the testing link. This page helps set the tone for a seamless and engaging experience, and supports the use of our advanced features such as proctoring and automatically scored video interviews.
Please note that only one landing page can be associated with each job. If you are using an application form in the same job with testing and/or structured interviewing across multiple stages, the landing page will be the same for candidates accessing the application form and the assessment invitation.
The colors and branding applied to your Landing Page will carry throughout the candidate experience.
Click below to access a quick interactive demo of the Landing Page. This will open in a new window.
Create a Landing Page
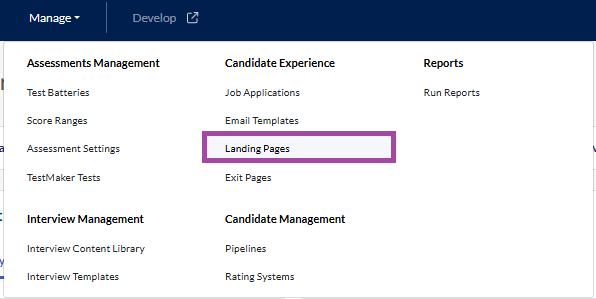
- Click Manage in the top navigation bar, then click Landing Pages.
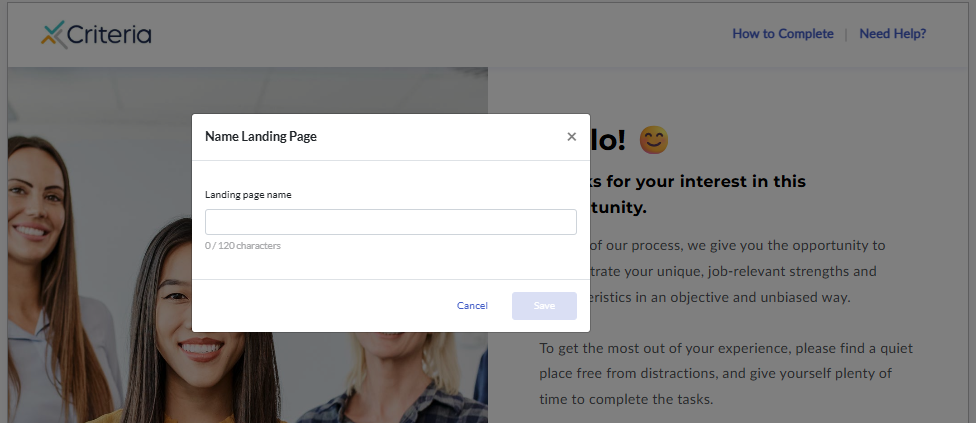
- Click the Create Landing Page button.

- The Landing Page Builder will open in your browser. Enter a name for your landing page. You can edit this name at any time by clicking on it.
- You can make changes to any of the items listed in the side menu by clicking on them. Any changes you make to the Landing Page can be visible in the live preview.
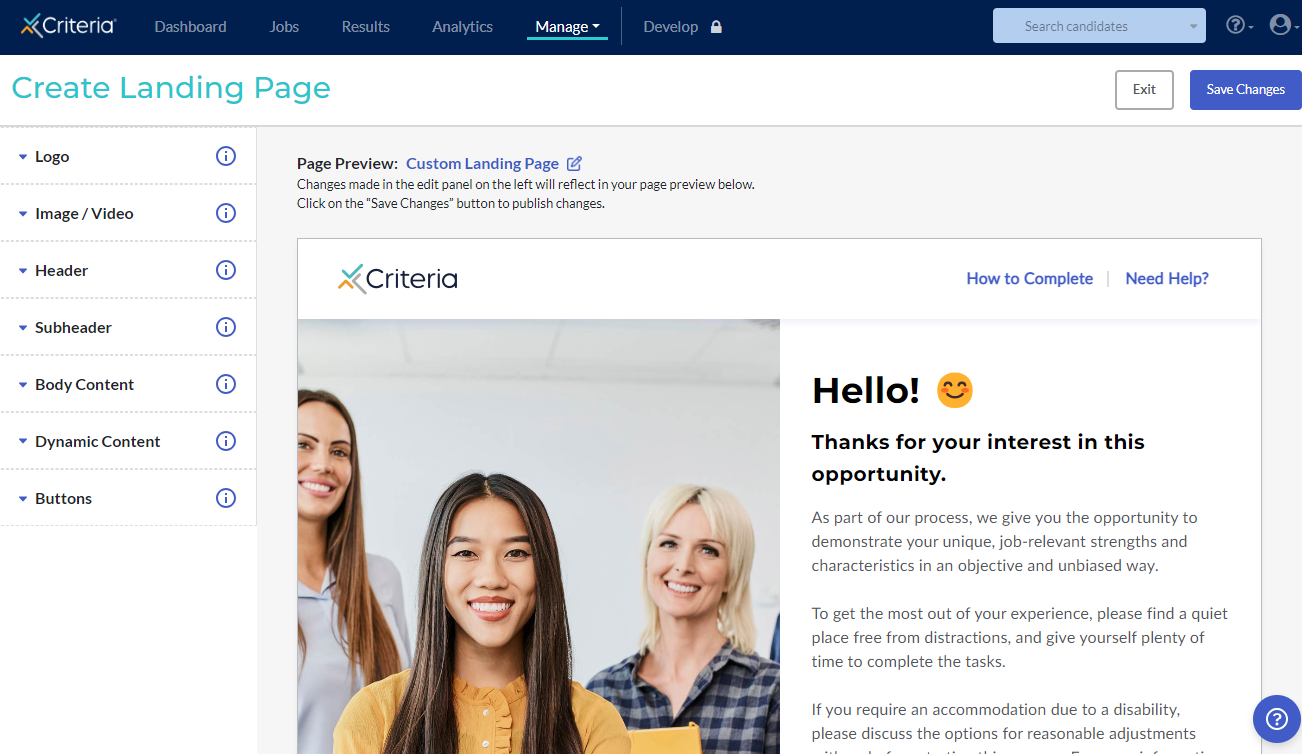
The following elements can be customized.
Items marked * are mandatory. Other items are optional and can be toggled off or left blank. (Image/video must be toggled off.)
- Save your changes at any time by clicking Save Changes. Click Exit to exit the page builder.
Logo
- Add a logo to your landing page by uploading an image file from your device. Logos of any dimensions will be accepted as long as the file meets the size requirements.
- Your logo will be automatically resized to 40px to fit in the header of the landing page.
- The image requirements are:
- Min. width 400px
- Max file size 2MB
- File formats: PNG, SVG, JPEG, WEBP, GIF
Image/Video
- Add a hero image to your landing page by uploading an image file from your device. The positioning of the image is responsive and will depend on the size of the device viewing the landing page.
- If you would like to host an introductory video on your Landing Page instead of an image, you can do this by selecting “Video” in the “Image/Video” menu. Uploaded video files will be resized to fit the dimensions of the landing page.
- You can also upload a thumbnail image that displays before the video is clicked.
- If you do not wish to have an image or video, you can turn off the display using the toggle.
- The image should not include text or graphics. The image may be resized, depending on the size of your candidate's screen, so some detail may be cut off.
- The image requirements are:
- Min. height 800px
- Max. file size 2MB
- Square or landscape
- File formats: PNG, JPG, JPEG, WEBP, GIF
- The video requirements are:
- Max. file size 30MB
- File formats: MP4, MOV, WMV
Header text
- Edit the text in the header to your liking. A typical header might contain a greeting to the candidate.
- The maximum text length is 120 characters, including spaces.
Sub Header
- Edit the text in the sub header to your liking. Sub header text can be used to supplement the header text and appears below the header.
- If you do not wish to have a sub header, you can toggle this text off.
- The maximum text length is 120 characters, including spaces.
Body Content
- Edit the body text to your liking. This is a great place to include additional instructions, introduce your organization, and help candidates prepare before they start the assessment process.
- If you do not wish to have body content, you can toggle this text off.
- The maximum text length is 750 characters, including spaces.
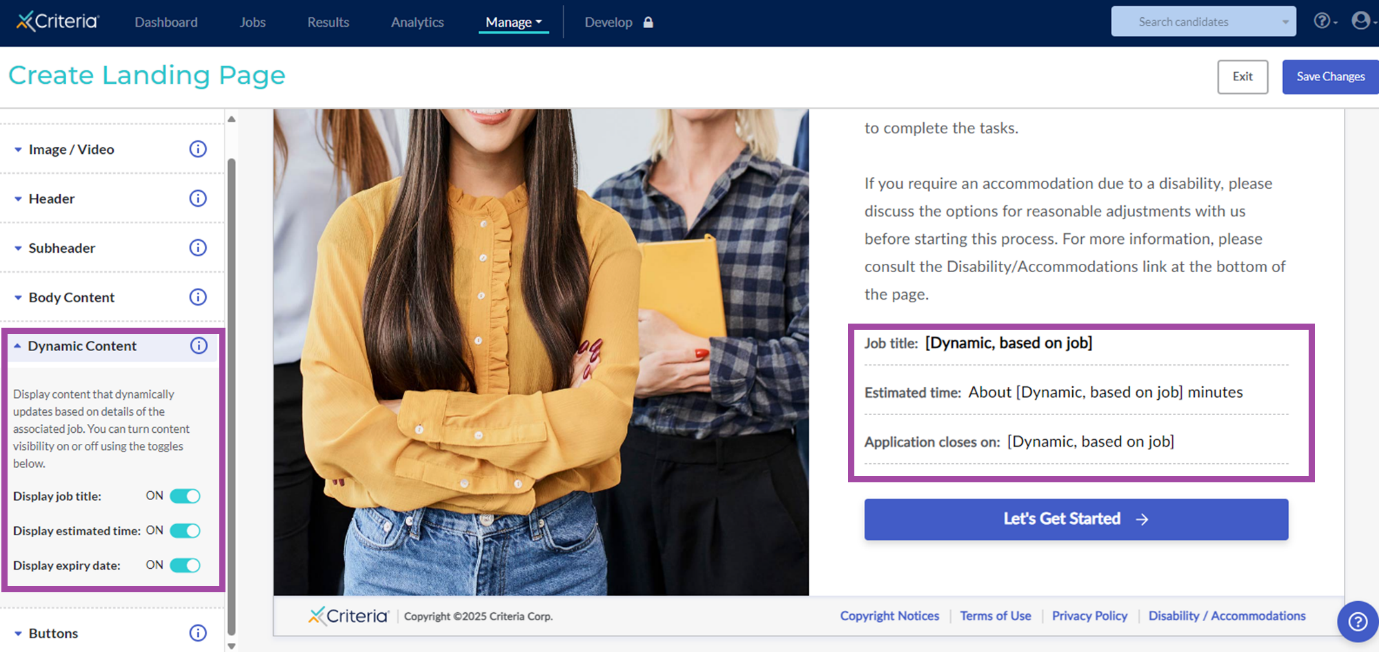
Dynamic Content
- You can adjust the display of some content which dynamically updates based on details of the associated job.
- This content includes the name of the job, the estimated time to complete, and the expiry date of the job (if there is one applied), allowing you to re-use the exact same landing page template for multiple jobs!
- Each toggle can be adjusted independently.
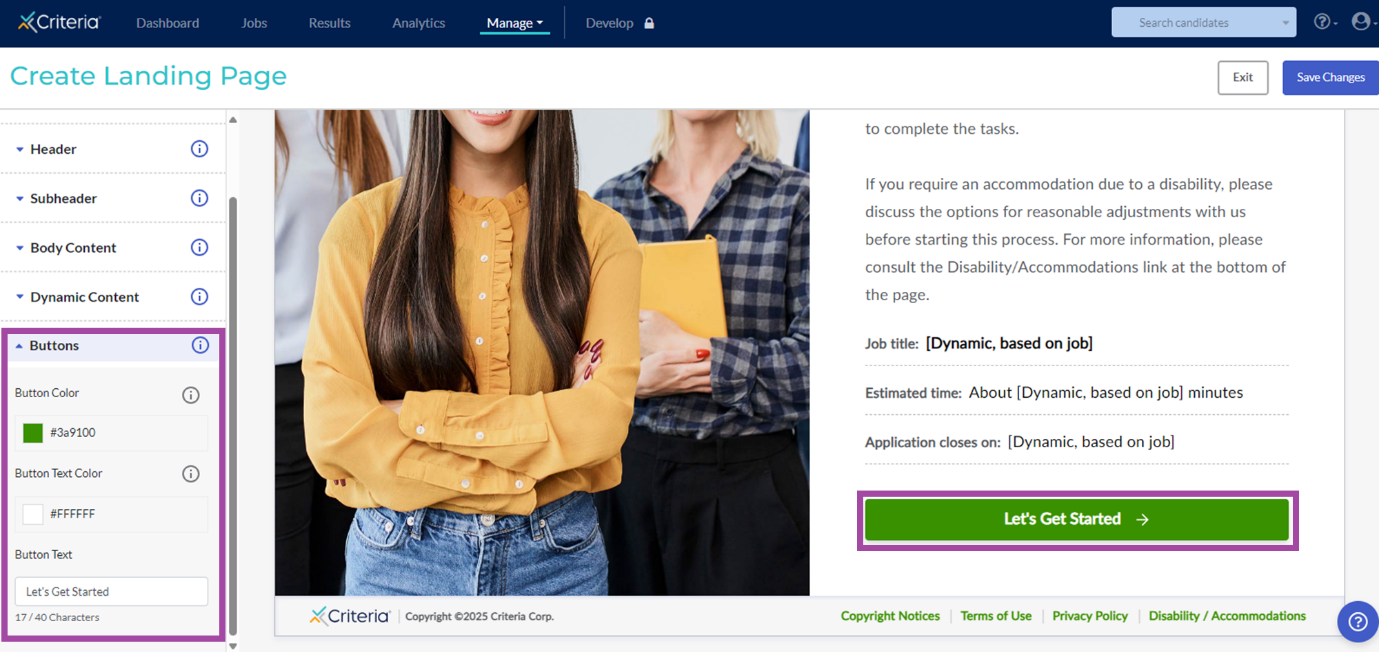
Buttons
- You can adjust the color of buttons and links on the Landing Page to align with your organization’s style guide. Both button color and text color can be adjusted.
Setting a Default Landing Page
If you would like to use a Landing Page without having to create one from scratch, please note that a preset Default New Landing Page is available for users.
You will be able to select this landing page to display to your candidates by default for new jobs only or for both new and existing jobs.
- Click Landing Pages in the dropdown menu under Manage.
- Click … (More Actions) next to the custom landing page you created and select Make Default.
- Choose to make this the default landing page for new jobs only or for both new and existing jobs. Note that if you select the second option, all active jobs will be updated to use the new default landing page.
Please note that associating a “New” Landing Page with a job will also visually update the candidate experience.
Setting the Landing Page per Job
If you only want some of your existing jobs to use the new landing page, you can edit each job individually.
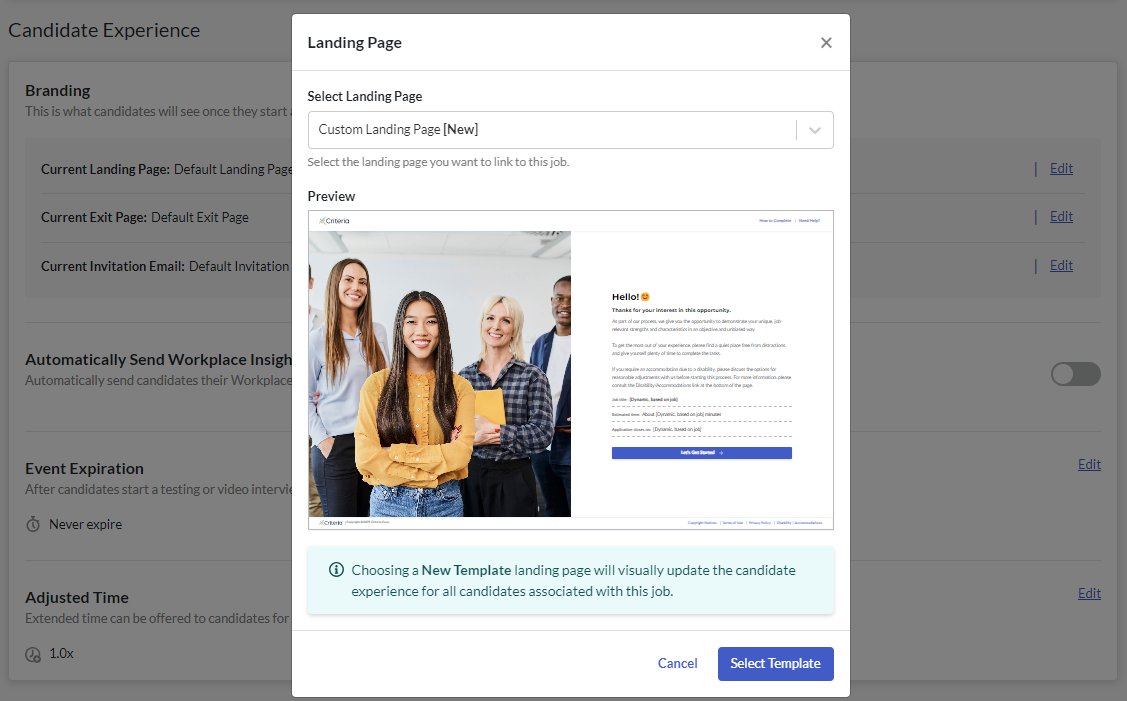
- In the job, click the Settings wheel in the top right corner.
- Scroll down to Branding and click Edit next to Landing Page.

- Select your custom landing page from the dropdown list and click Select Template. You can also preview your landing page before you select it.
Please note that associating a “New” Landing Page with a job will also visually update the candidate experience.
When your candidates click on the link in their invitation email, your custom landing page is the first page they will see. Use your organization's style guide to create a page that emphasizes your branding through the use of color, tone, and images.
Additional Resources
Need help creating or customizing your candidate landing page? For answers to common questions, please visit our FAQ page.