Candidate Journey Builder
 Updated
by
Amy Thomas
Updated
by
Amy Thomas
The Candidate Journey Builder is a drag-and-drop tool that streamlines workflow creation by letting you visually design and customize every stage of the candidate experience directly within the job view. When creating or editing a job, you’re taken straight to the Candidate Journey Builder page, where you can instantly see and adjust the entire candidate journey—adding, renaming, moving, or deleting stages without switching pages.
Each workflow is job-specific, so changes won’t affect other jobs, and you start with only the essential stages for a clean, tailored setup.
The builder allows combining application, assessments, and video interviewing in a single stage for a seamless experience, and you can personalize each stage with unique landing and exit pages to control messaging.
Previewing the journey is simple, ensuring your communications match the candidate’s actual path.
Enhanced automations are now easier to manage, with each stage featuring its own Automations tab, a clear trigger-condition-action setup, and a summary view that highlights automated stages with dedicated icons.
Preparations for creating the job
Before creating the job, you will need to create the following items, if you will be using them in the job:
- Test battery and any required score ranges
- Structured interview questions
- Interview templates for video or live interviews
- Application form
- Invitation and reminder email templates
- Landing page and exit page
Creating the job
Once you have set up all the components you will be using in the job, it's time to create the job itself.
Here are some points to consider when creating the job:
- The test battery and video interview will be added to Stage 1 by default. If you are also using a live interview, this will be added to Stage 2.
- If a live interview is included in your job, it must be the only evaluation tool in that pipeline stage.
- If you want candidates to complete an application form, this must be added to Stage 1 once the job has been created. You can move the assessment or video interview to a later stage if you only want candidates to complete the application form initially.
Candidate Journey Builder
You will be directed to the Candidate Journey Builder when your job has been created.
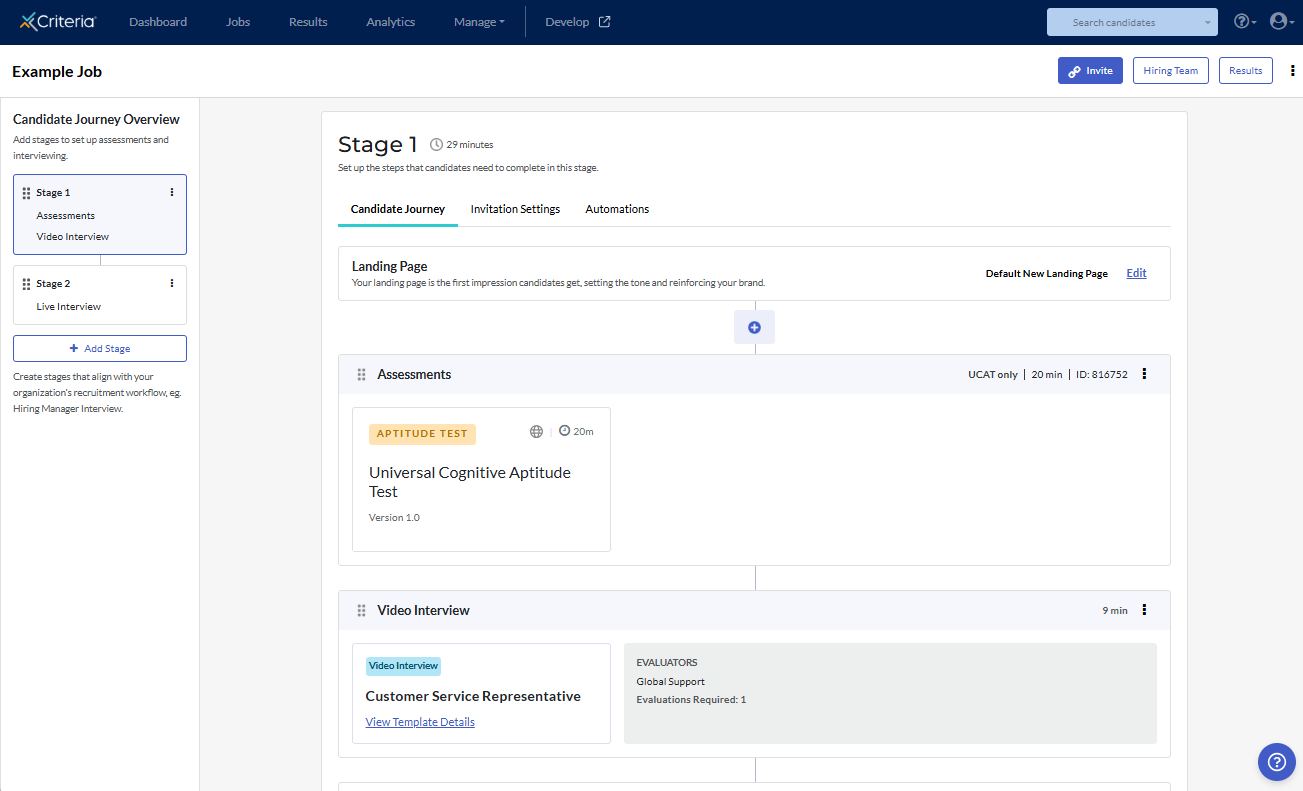
Candidate Journey Overview
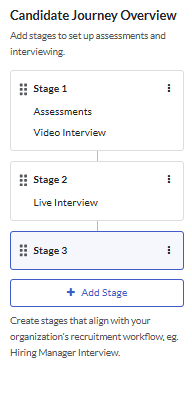
The Candidate Journey Overview section on the left side of the screen shows the pipeline for your job. Here you can add, sort, rename, and delete the stages for the job.

Click Add Stage to add a new stage to the pipeline. These will automatically be labelled Stage 2, Stage 3, etc. and be added at the end of the pipeline.
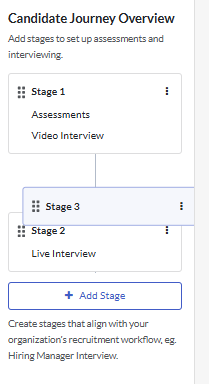
To rearrange the stages, click on the 6 dots, then drag the stage to the required location.
To rename a stage to be more meaningful within your organization's workflow, click the 3 dots (hamburger icon) and select Edit Stage Name.

Enter the new name for the stage, then click Save.

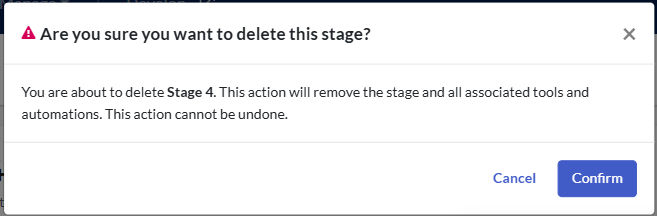
To remove a stage that is no longer required, click the hamburger icon and select Delete.
Click Confirm in the pop up message. Note that this action will remove the stage and all associated tools and automations. It cannot be undone.
✳️The live interview will be the only evaluation task within that pipeline stage.
✳️If you wish to have the live interview in Stage 1, and other evaluation tasks later in the process, you will need to drag the live interview stage to the top of the pipeline in the Candidate Journey Overview.
✳️The application form can only be added to Stage 1.
✳️If your job will include an application form and live interview only, create the job with assessments and live interview. You can then add the application form to Stage 1, then remove the assessment task.️
Evaluation tasks
By default, the test battery and video interview will be added to Stage 1 and the live interview will be added to Stage 2. You can add or remove evaluation tasks within each stage.
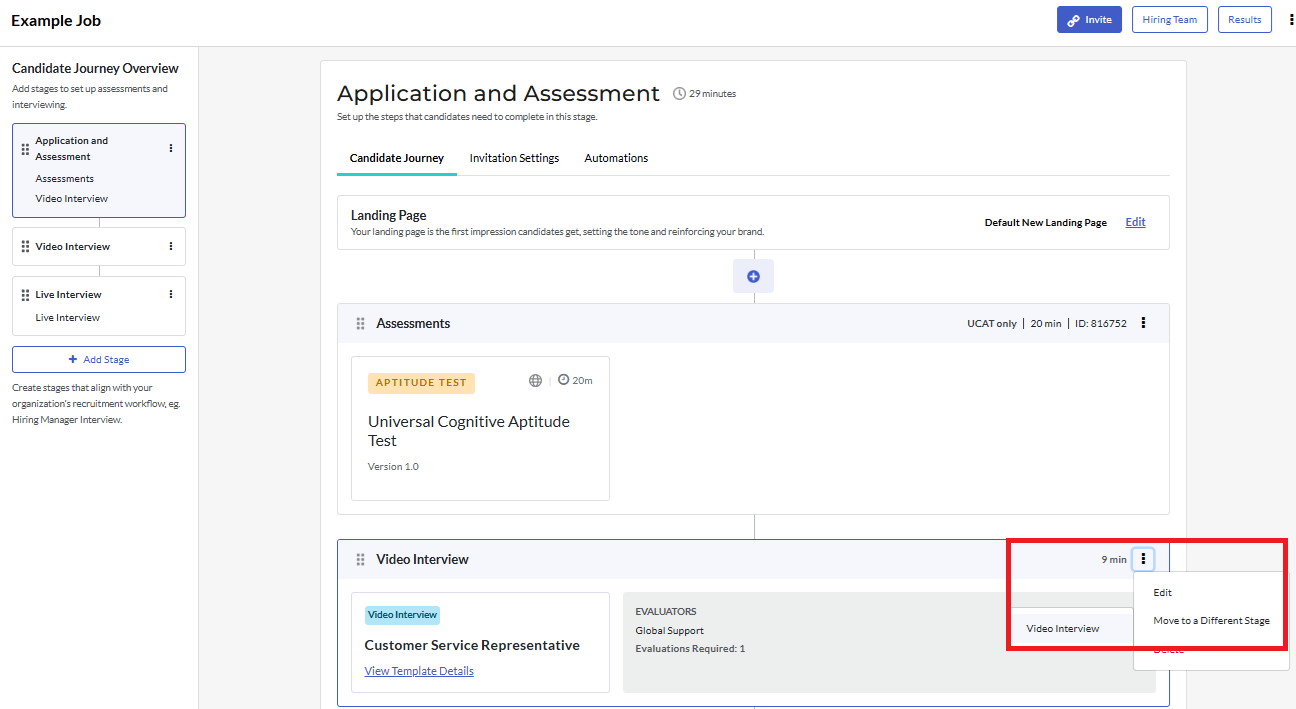
Click on the stage in the Candidate Journey Overview to view the details for that stage.
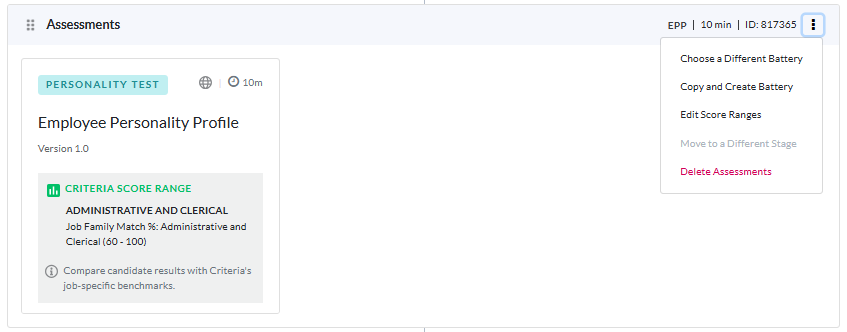
To move an evaluation task to a different stage, locate the evaluation task that you want to move and click on the hamburger icon. Click Move to a Different Stage and select the required stage from the list.
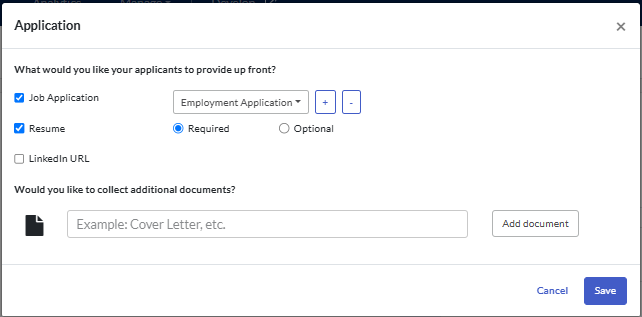
An application form may only be added to Stage 1. Click + and select Applications.

Select the required application information, then click Save.
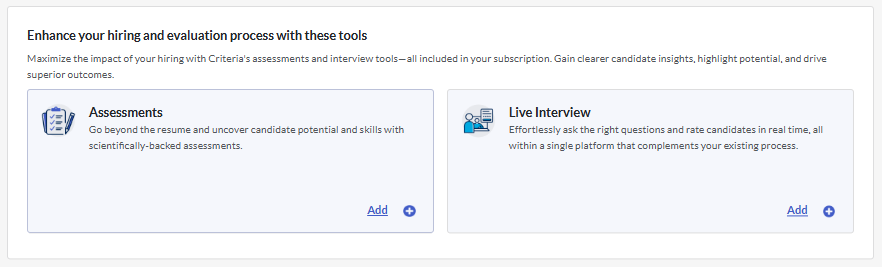
The job may have multiple assessment stages and multiple live interviews. Only one video interview may be used with the job. To add a new assessment or live interview, click on a stage that does not currently include that evaluation tool.
You can either click the + and select from the available options, or click Add for the evaluation tool at the bottom of the page.
You will be directed to a new page to select the test battery, video interview template or live interview template required. These steps are the same ones presented during the job creation process.
Click the 6 dots and drag the evaluation tasks into the order you wish candidates to complete them, with the top task being presented first.
Editing or removing an evaluation task
To update or delete an evaluation task, click the hamburger icon next to the task and select the appropriate option from the dropdown list.
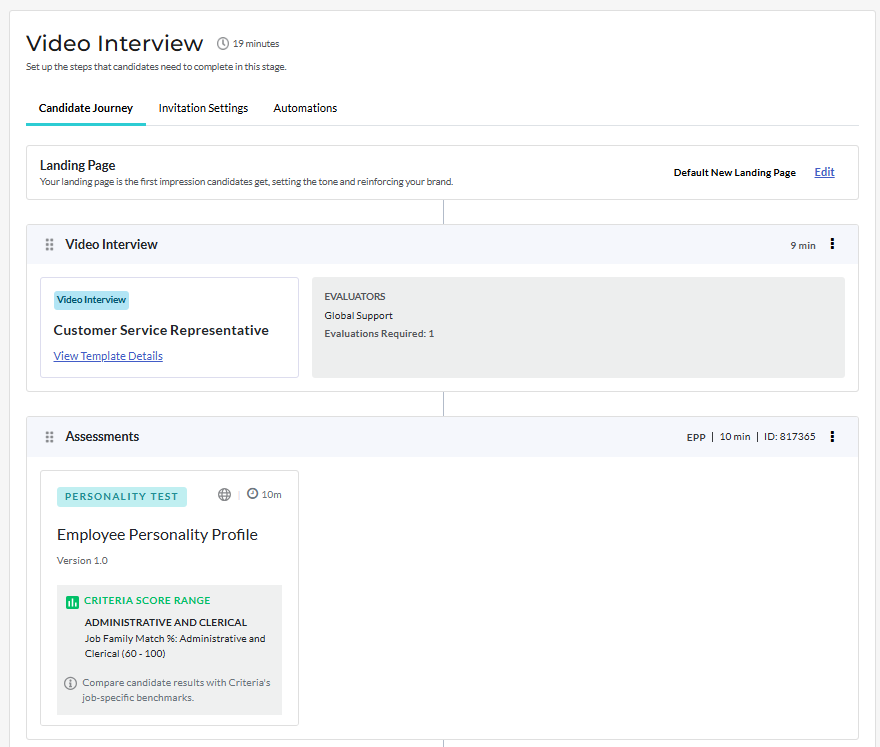
Candidate experience
Once you have added all the evaluation tasks, it's time to set up the candidate experience. A different landing page, exit page and email templates may be selected for each stage in the workflow.
Landing page and exit page
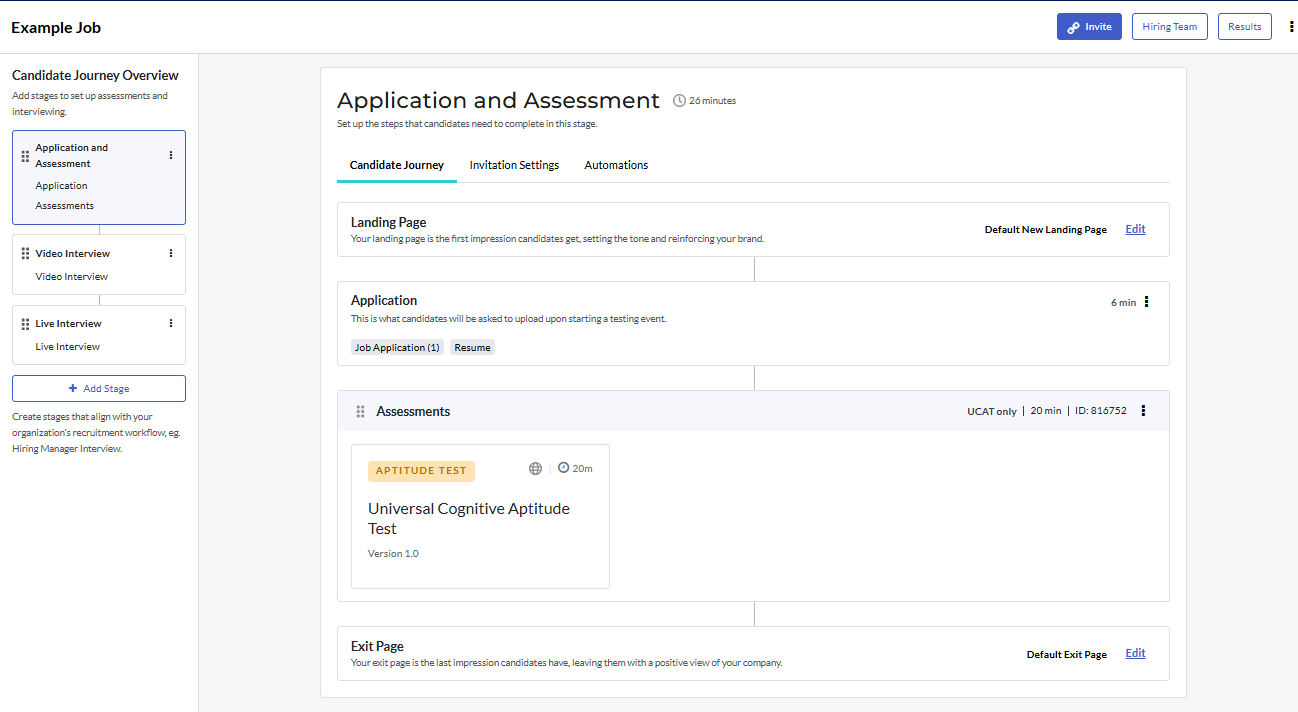
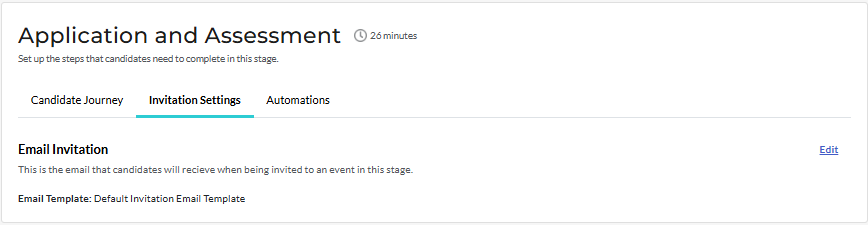
The Candidate Journey tab shows the steps that candidates will complete, in order from top to bottom.
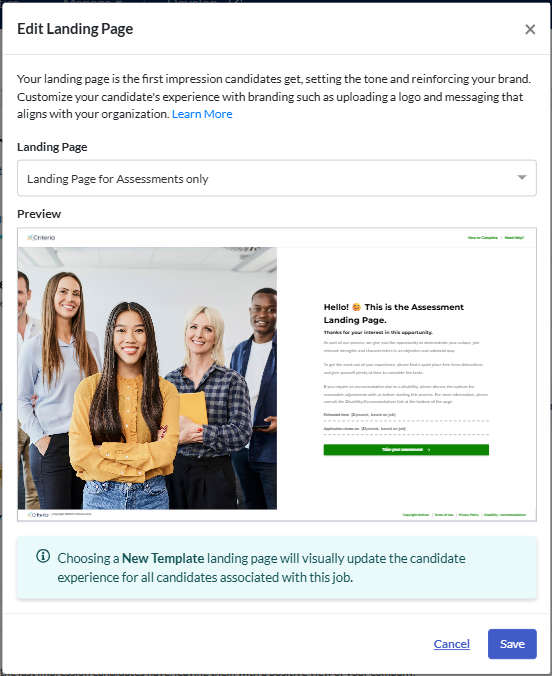
Click Edit next to Landing Page.

Select the landing page candidates will see for this stage, then click Save.
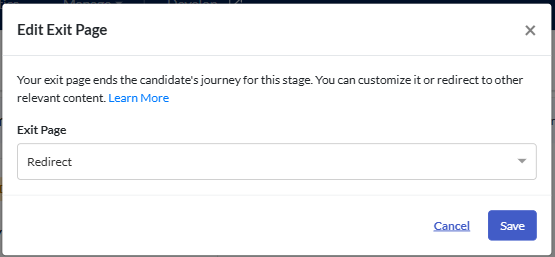
To change the exit page for this stage, click Edit next to Exit Page.

Select the exit page from the list, then click Save.
Email templates and expiry date
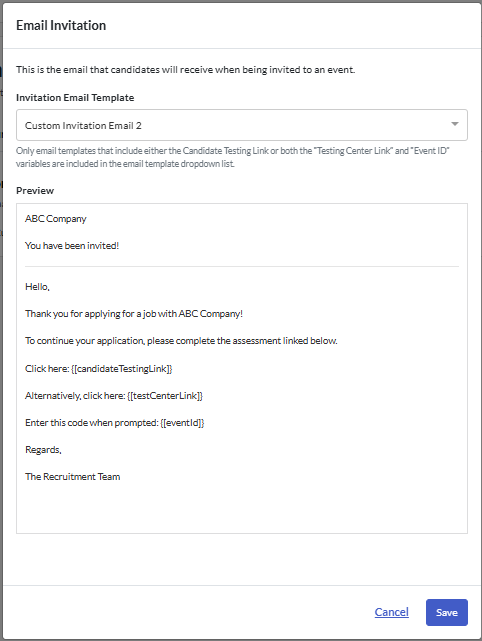
To add an invitation email template specific to this stage in the job's workflow, go to the Invitation Settings tab. Click Edit next to Email Invitation.
Select the invitation email template for this stage, then click Save.
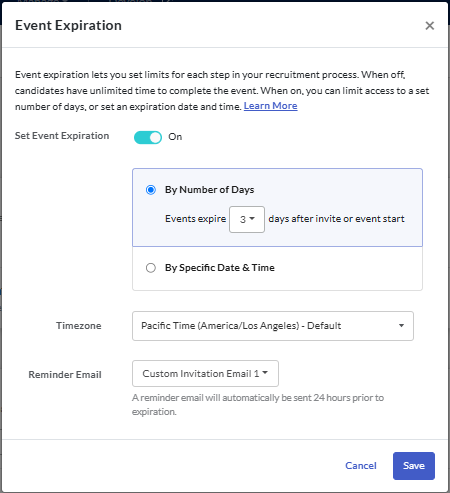
The Event Expiration and reminder email are set at the job level, so candidates in each stage of the workflow will be sent this email and have a set number of days to complete it (if enabled for the job).
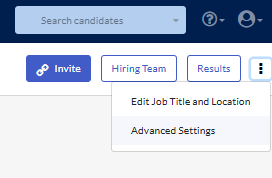
Click the hamburger icon in the top right and select Advanced Settings from the dropdown menu. This is also where you will find any additional settings options for the job.
Click Edit next to Event Expiration.
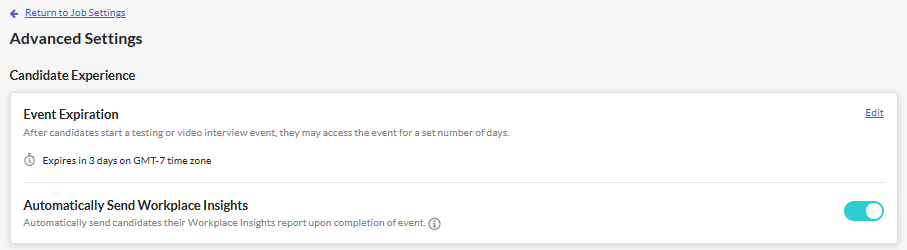
If expiry dates are to be used for the job, check that this is toggled on. Select whether the Event Expiration will be for a specific date or for a set number of days. Chose the time zone the candidates' invitation will be displayed in and select a reminder email template. Click Save.
Click Return to Job Settings to return to the Candidate Journey Builder.

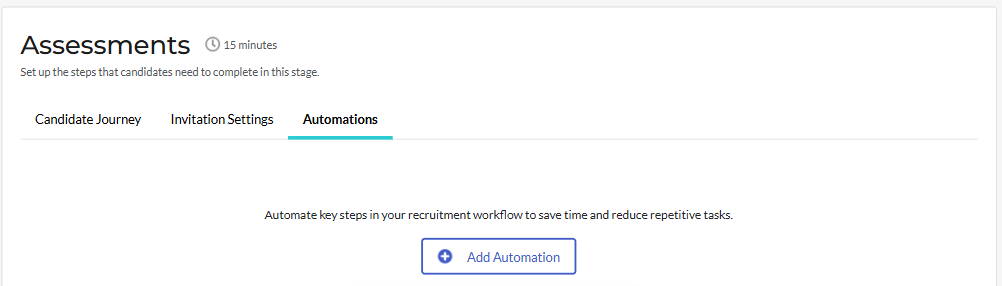
Automations
You can add automations to progress candidates to another pipeline stage. Multiple automations may be added to each stage, however the options available will depend on the evaluation tools included in that stage.
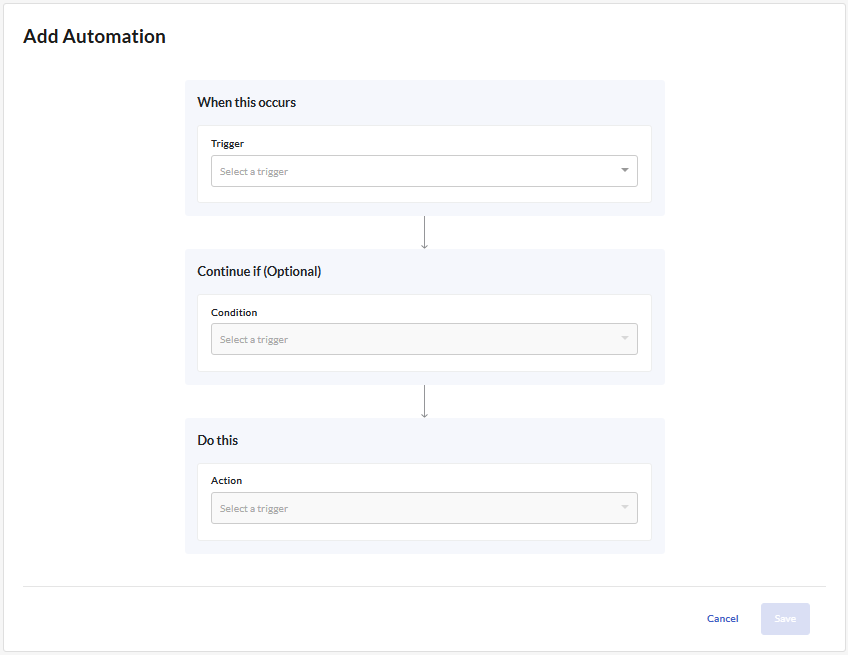
In the Automations tab for the stage, click Add Automation.
Select what you would like to have happen when certain triggers and conditions occur.
Example scenarios
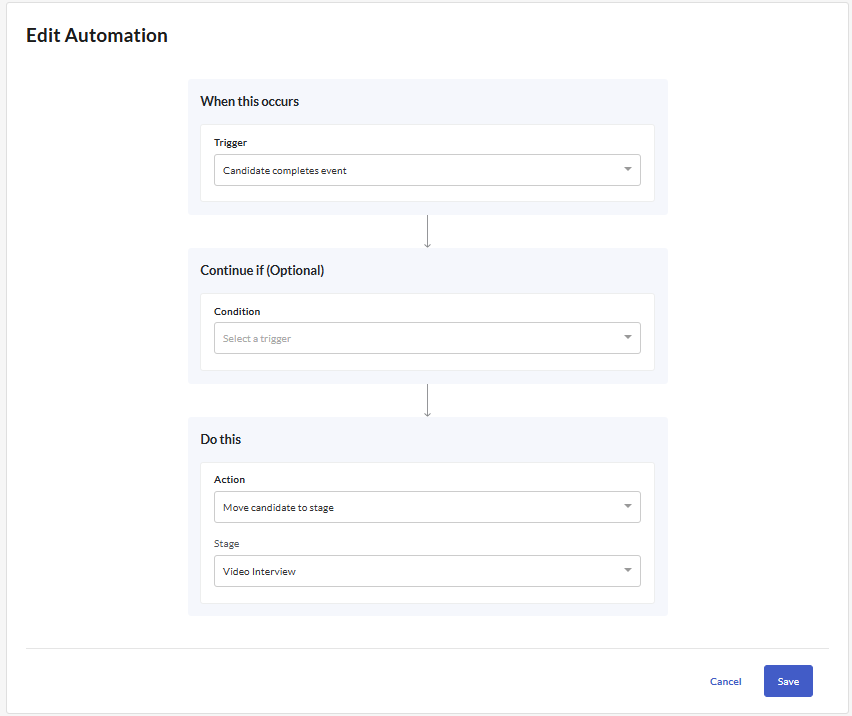
You would like to move all candidates who complete the assessment to the next stage to complete the video interview.
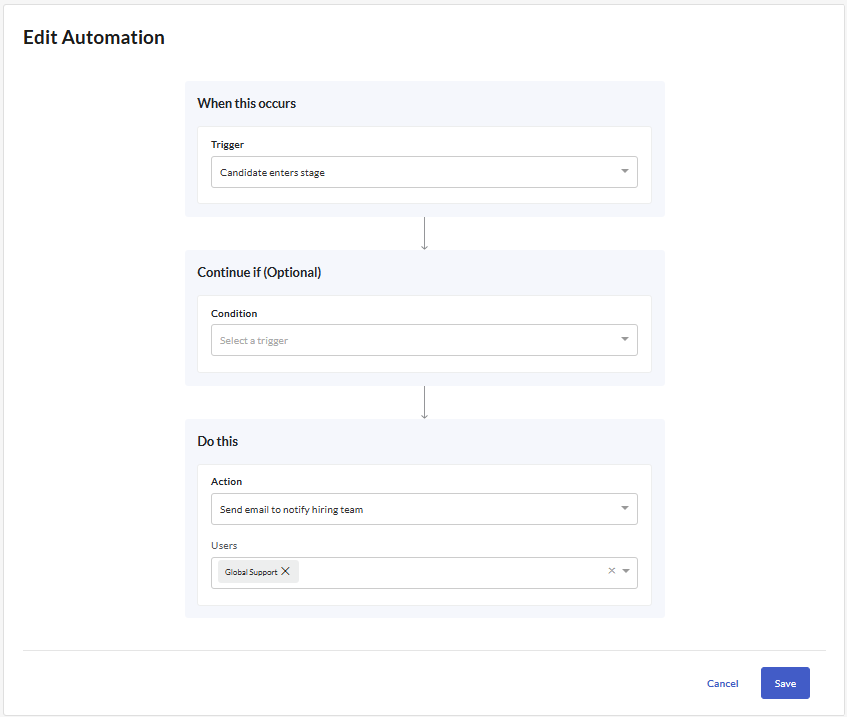
On the Add Automation screen (or Edit Automation screen, if you are making changes to the automation rule) add the Candidate completes event trigger and the Move candidates to stage action, but leave the Continue if field empty.
You would like to notify the evaluators when a candidate is moved to the live interview stage. In the live interview stage, select the Candidate enters stage trigger and the Send email to notify hiring team action. Add the users to be notified, then click Save.
Other job settings
Sharing the job
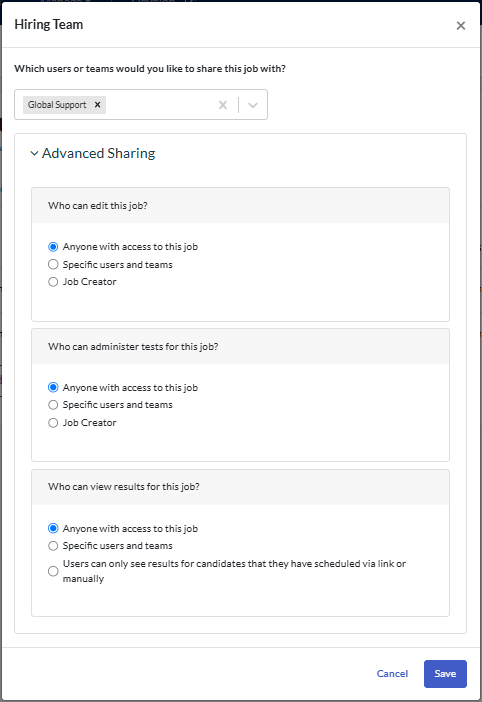
To share the job with other users in your account, click Hiring Team in the top right.

You can add individual users, or teams. Click Advanced Sharing to select who can perform which actions within the job. Click Save.
Making changes to the job title
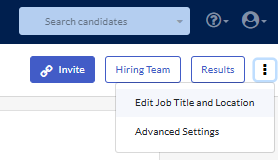
To change the job title, add an Internal Reference Name or add a Location, click on the hamburger icon in the top right.
Select Edit Job Title and Location from the dropdown menu.
Make the required changes, then click Save.
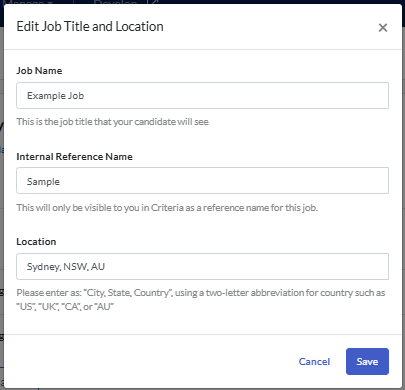
Your updated job title will appear in the top left corner.
Inviting and reviewing candidates
To generate an open link for the job, or manually invite a candidate to Stage 1, click Invite in the top right.
Follow the prompts to add and invite your candidates.
Click Results to view a list of candidates in the job. Here you can review their record and manually progress them to another stage, if you wish.

To access the Candidate Journey Builder from the candidate list, click Settings.
