ApplicantPro Integration Guide


Activating the Integration
- Contact your Criteria Customer Success Manager (CSM) to request your Client ID.
- Provide your Client ID to your ApplicantPro rep, who will configure the integration within ApplicantPro.
Using the Integration
Sending Assessments Manually to an Individual Candidate
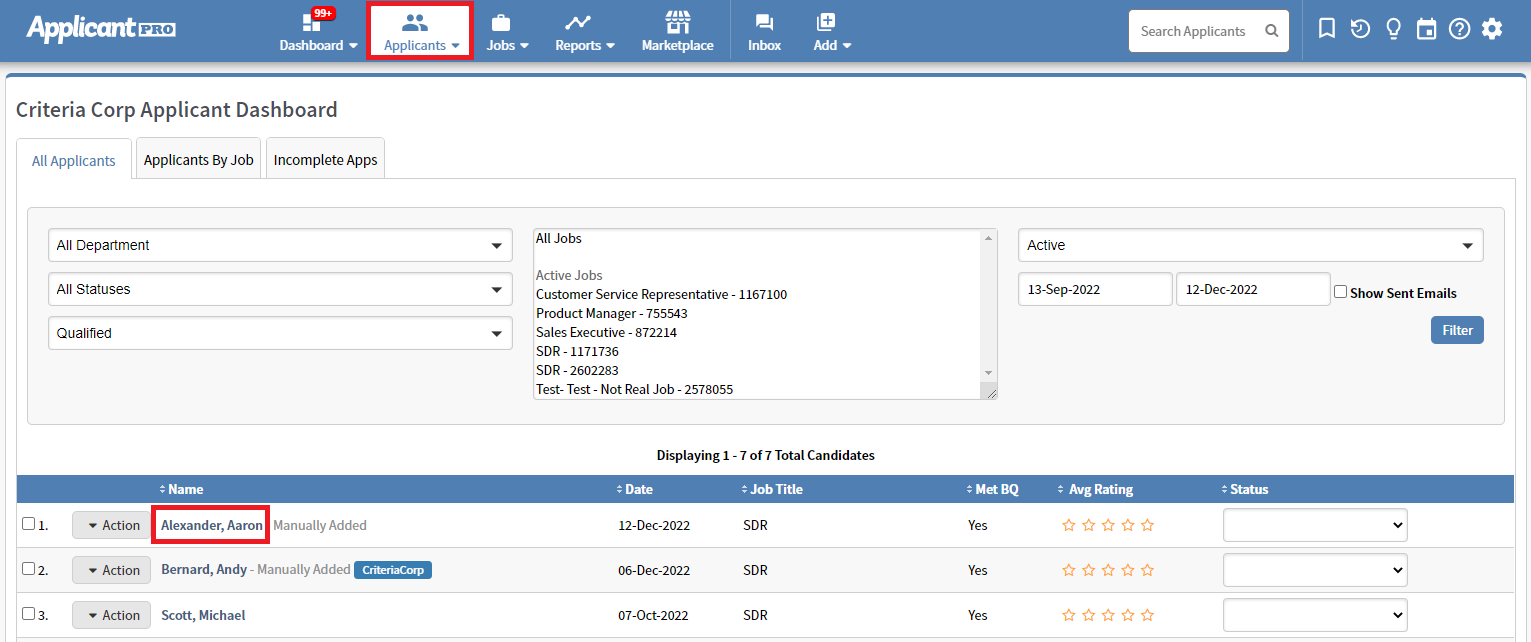
- From the Applicants tab, click on a candidate’s name.
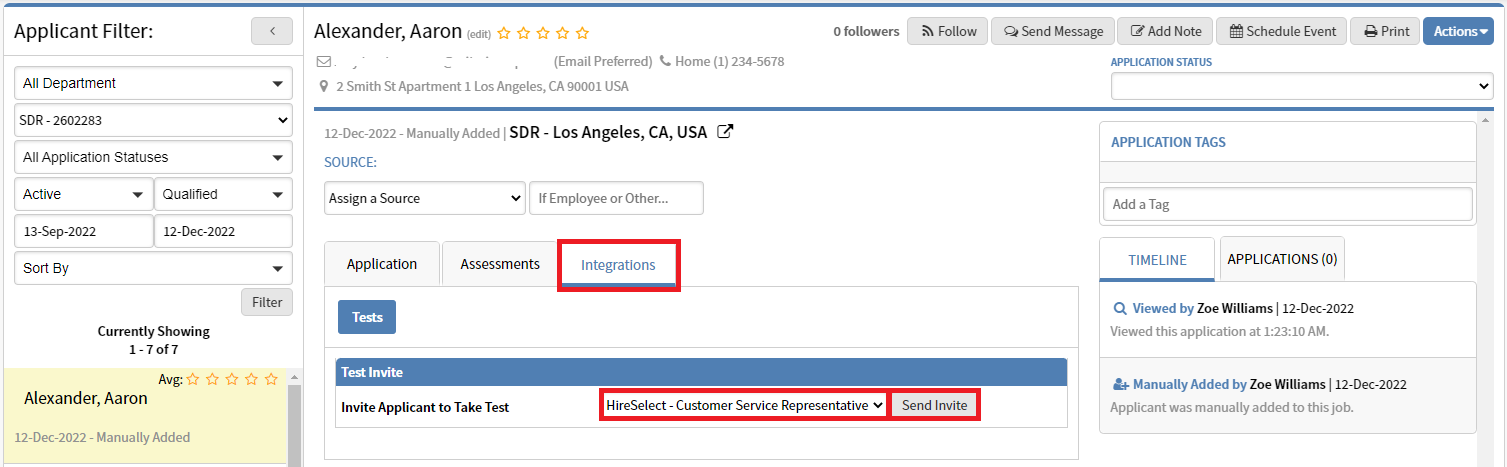
- Select Integrations tab, choose an assessment from the drop-down menu and click Send Invite.
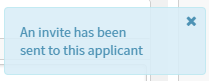
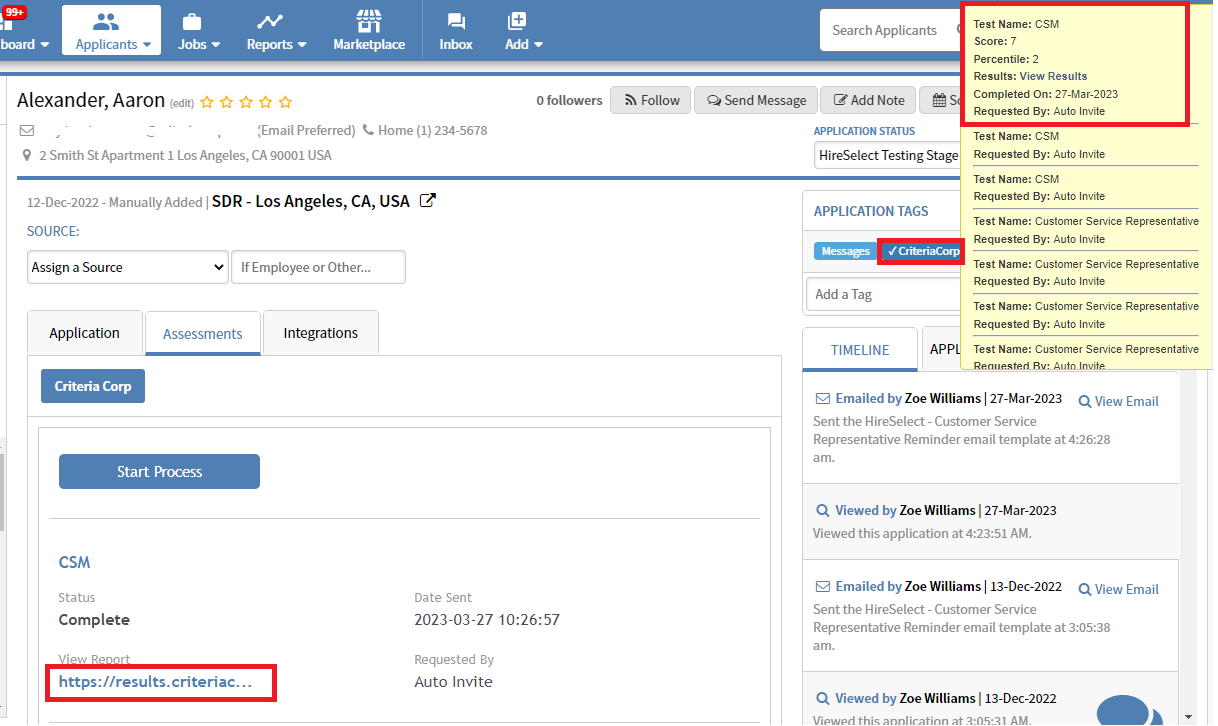
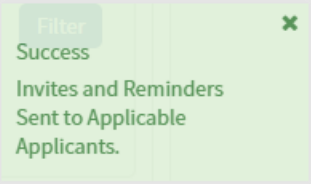
- The assessment invitation will be sent immediately and this message will appear on the screen. Additionally, the candidate record will indicate when the assessment was sent and by whom.

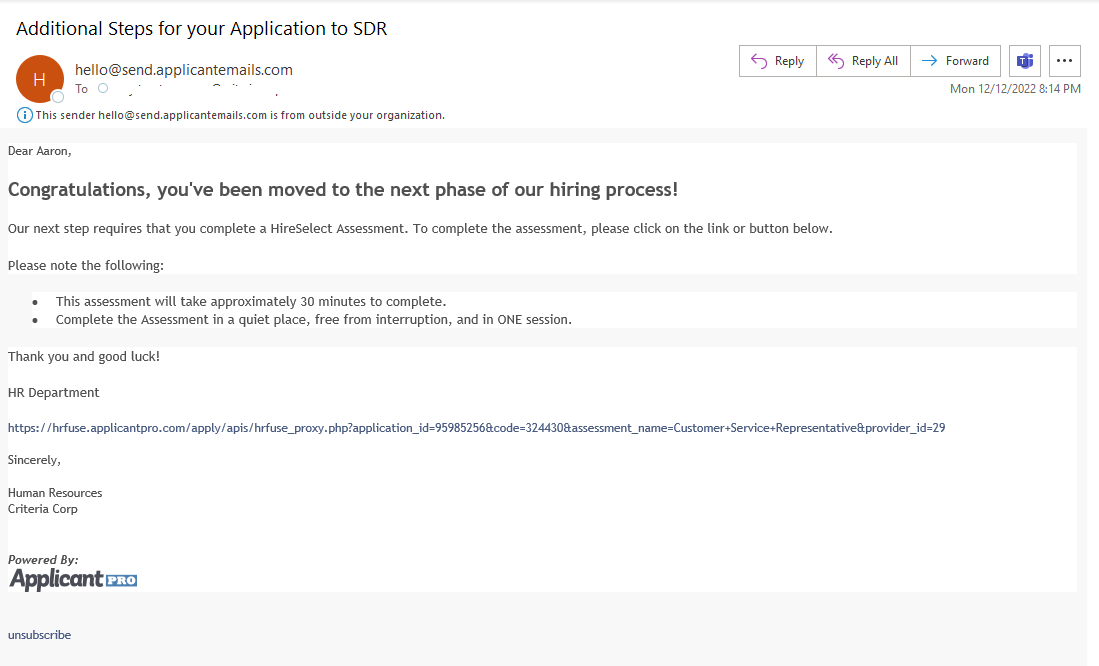
- The candidate will receive the testing invitation from ApplicantPro with the testing link at the bottom.
- Once the candidate completes the assessments the results will appear in ApplicantPro immediately.
- To view results, hover over the Criteria Corp button in the candidate record. Click on the link under View Report to open the full PDF score reports.
Sending Assessments in Bulk
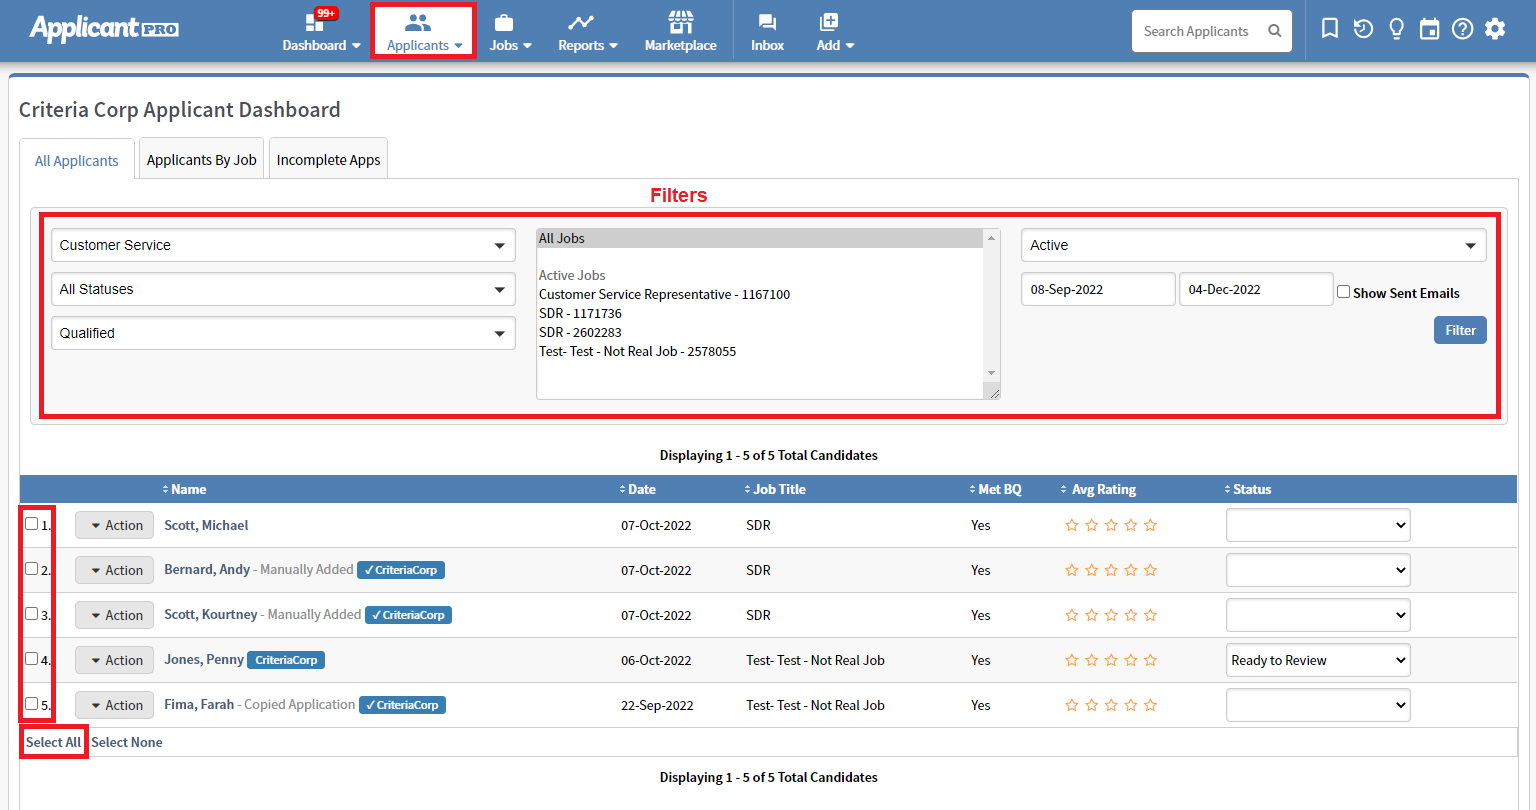
- Click the Applicants Tab, choose filters if needed, once the filtered list of candidates appears click Select All button or manually check boxes next to the candidates’ names.
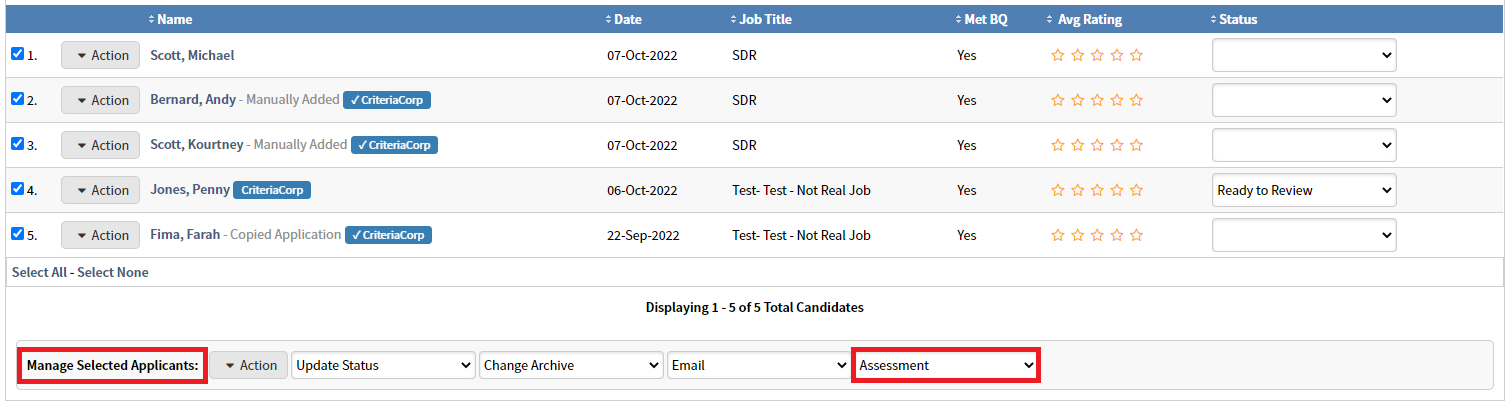
- In the Manage Selected Applicants area click the Assessment drop-down menu and select the assessment package that you’d like to send.
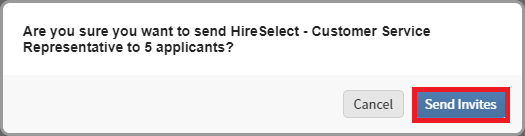
- A box will appear asking whether you want to send the assessments, click Send Invites.
- The test invitations will be sent immediately, and this message will appear on the screen.
Automated by Job (In-Line)
- Go to Jobs tab, click Add and select Add New Job to create new job, or click Action and select Edit to edit an existing job.
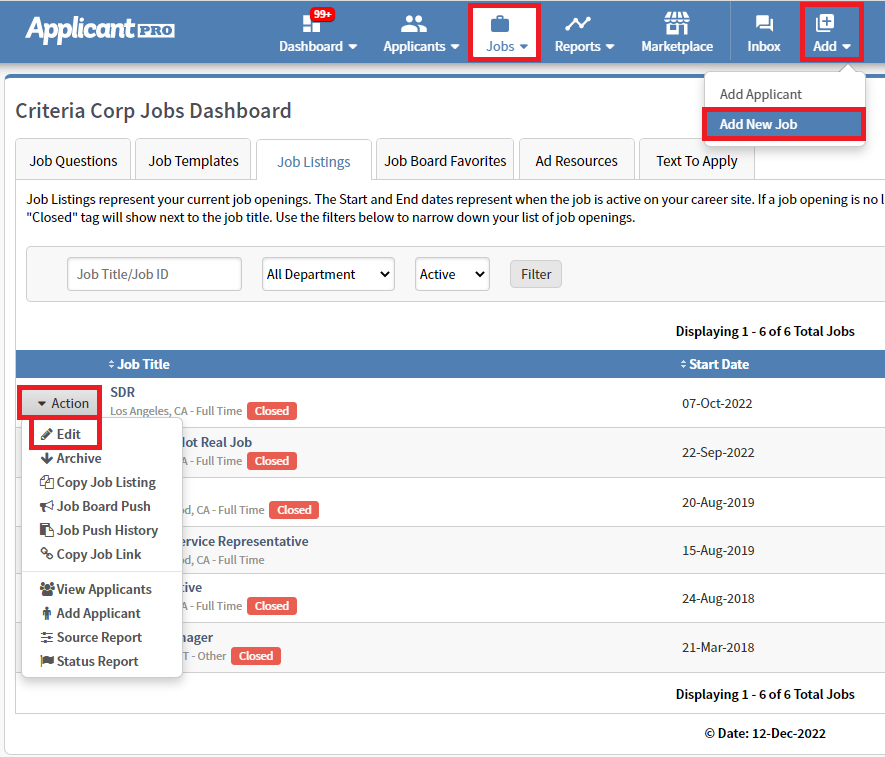
- Scroll down to the Assessment section.
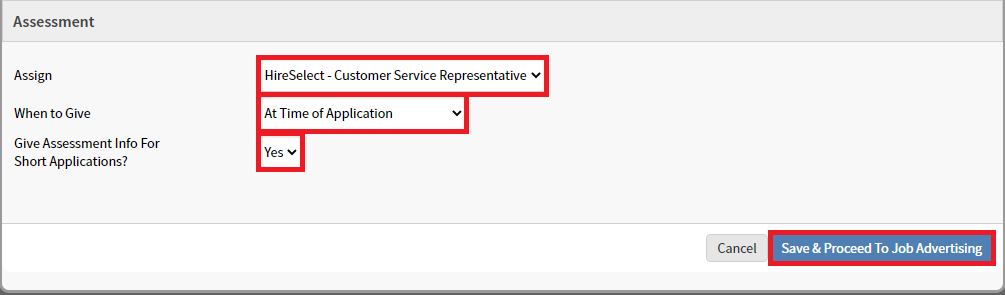
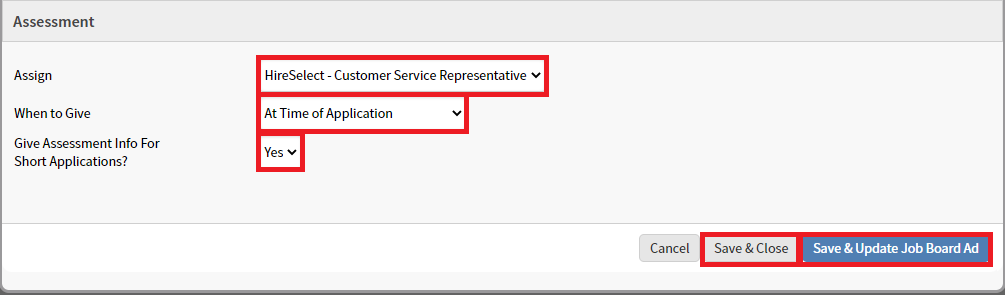
- Select the appropriate assessment package from the Assign drop-down.
- For your test batteries to appear here, ApplicantPro’s support team will need to manually configure the list.
- Select At Time of Application from When to Give drop-down.
- At Time of Application: means all candidates will be invited.
- At Time of Application If Met BQ: only candidates who passed the basic qualifications will be invited to test (use this option if you’re using job questions that have automatic disqualifiers).
- Select Yes from Give Assessment Info For Short Applications drop down.
- Selecting Yes will administer the assessment after the short application so you can review their scores before deciding whether to give them the rest of the application (many clients use this two-step application process, where the short application has necessary info and the second part of application collects info that is important but not necessary for the initial screening).
- Click the relevant Save option.
- Select the appropriate assessment package from the Assign drop-down.
Associating Testing with a Status / Triggering Testing Via Status Change
Note:
- In order to use this method, you will need to request the battery URLs from ApplicantPro’s support team.
- Additionally, it’s important to note that there will need to be a one to one relationship between one battery and one status. In other words, separate statuses will need to be created for each battery that you want to send.
- Navigate to the Settings menu and select Settings.

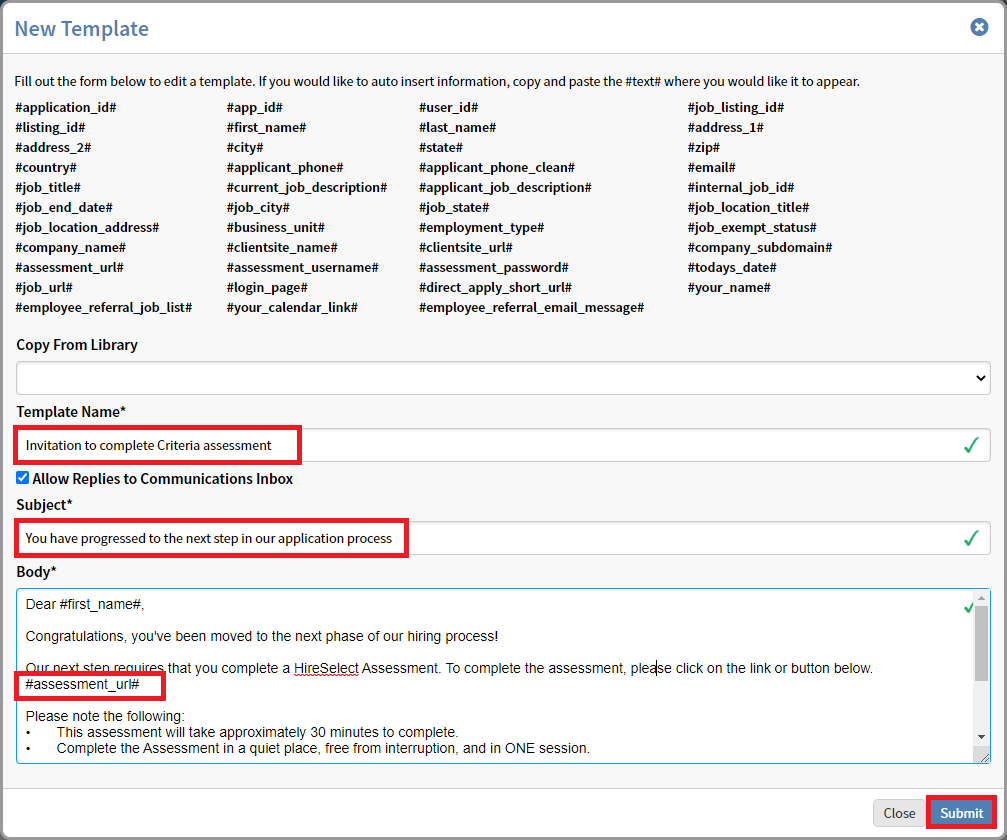
- Click the Inbox Templates tab, then click New Email/Text Template.

- Add template name, subject, template body and assessment URL (Note: the assessment URL MUST be included in the body of the template), click Submit.
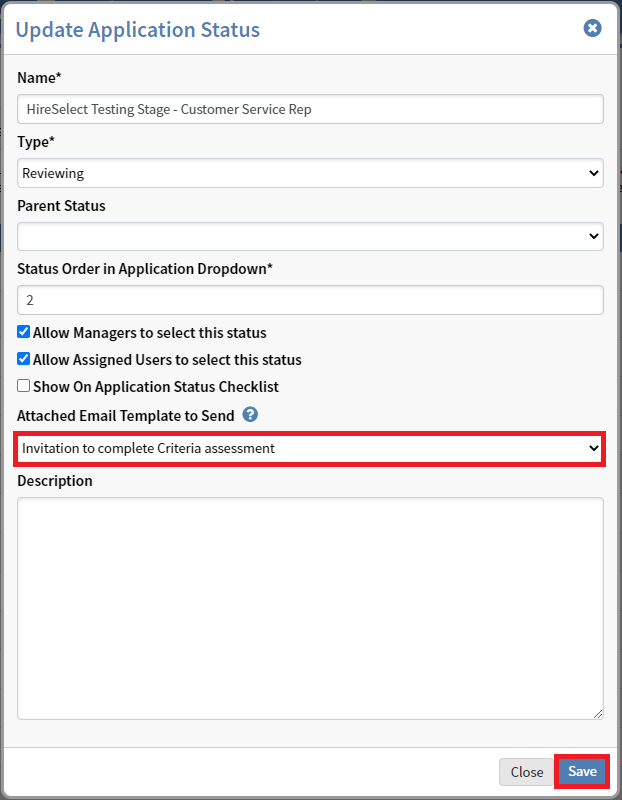
- Go to the Statuses tab, find the status that you’d like to associate the testing with, click Action, select Edit.

- Select the email template that you just created, click Save.
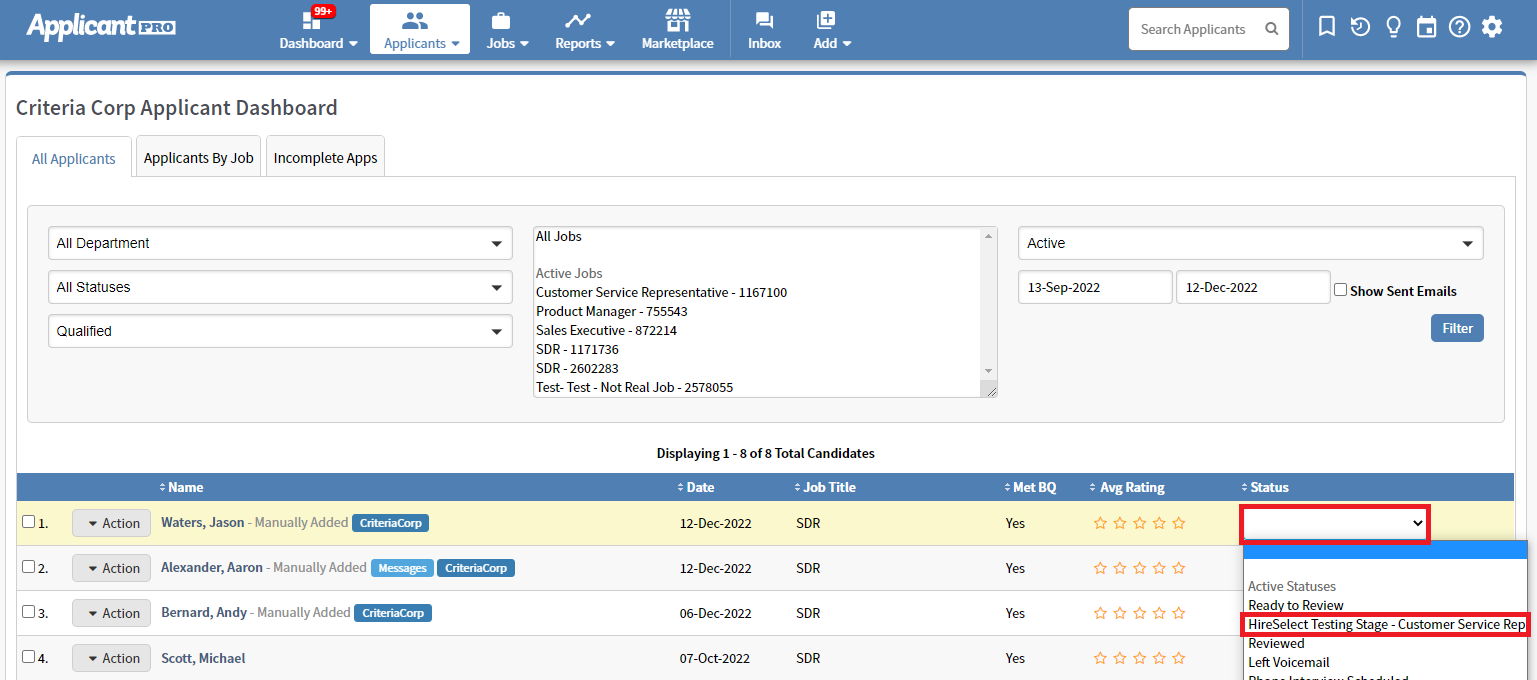
- To trigger testing via a status change, navigate to a candidate record, change their status accordingly via the Application Status drop-down menu. The email template with the testing link will be sent immediately.

- This can also be triggered from the Applicants screen.
- This can also be triggered from the Applicants screen.